Showing posts with label reusable molding putty. Show all posts

Thursday, October 19, 2017

Restoration of Building Column with Re-usable Molding Putty

Many older buildings feature beautiful and historical designs but require updates and restoration. To restore and preserve these fetatures and designs can be performed with our Re-usable Molding Materials. 

We were asked to support the historical renovations of some columns for a historical building nearby. Initially, the forms were going to be 3-D printed, but there was a fear that the polymers used in the 3D printer would not be able to handle long term exposure to the cold of a Northern (Maine) climate year after year. The other alternative was to remake the wooden components from scratch, but that would require a different level of effort. 
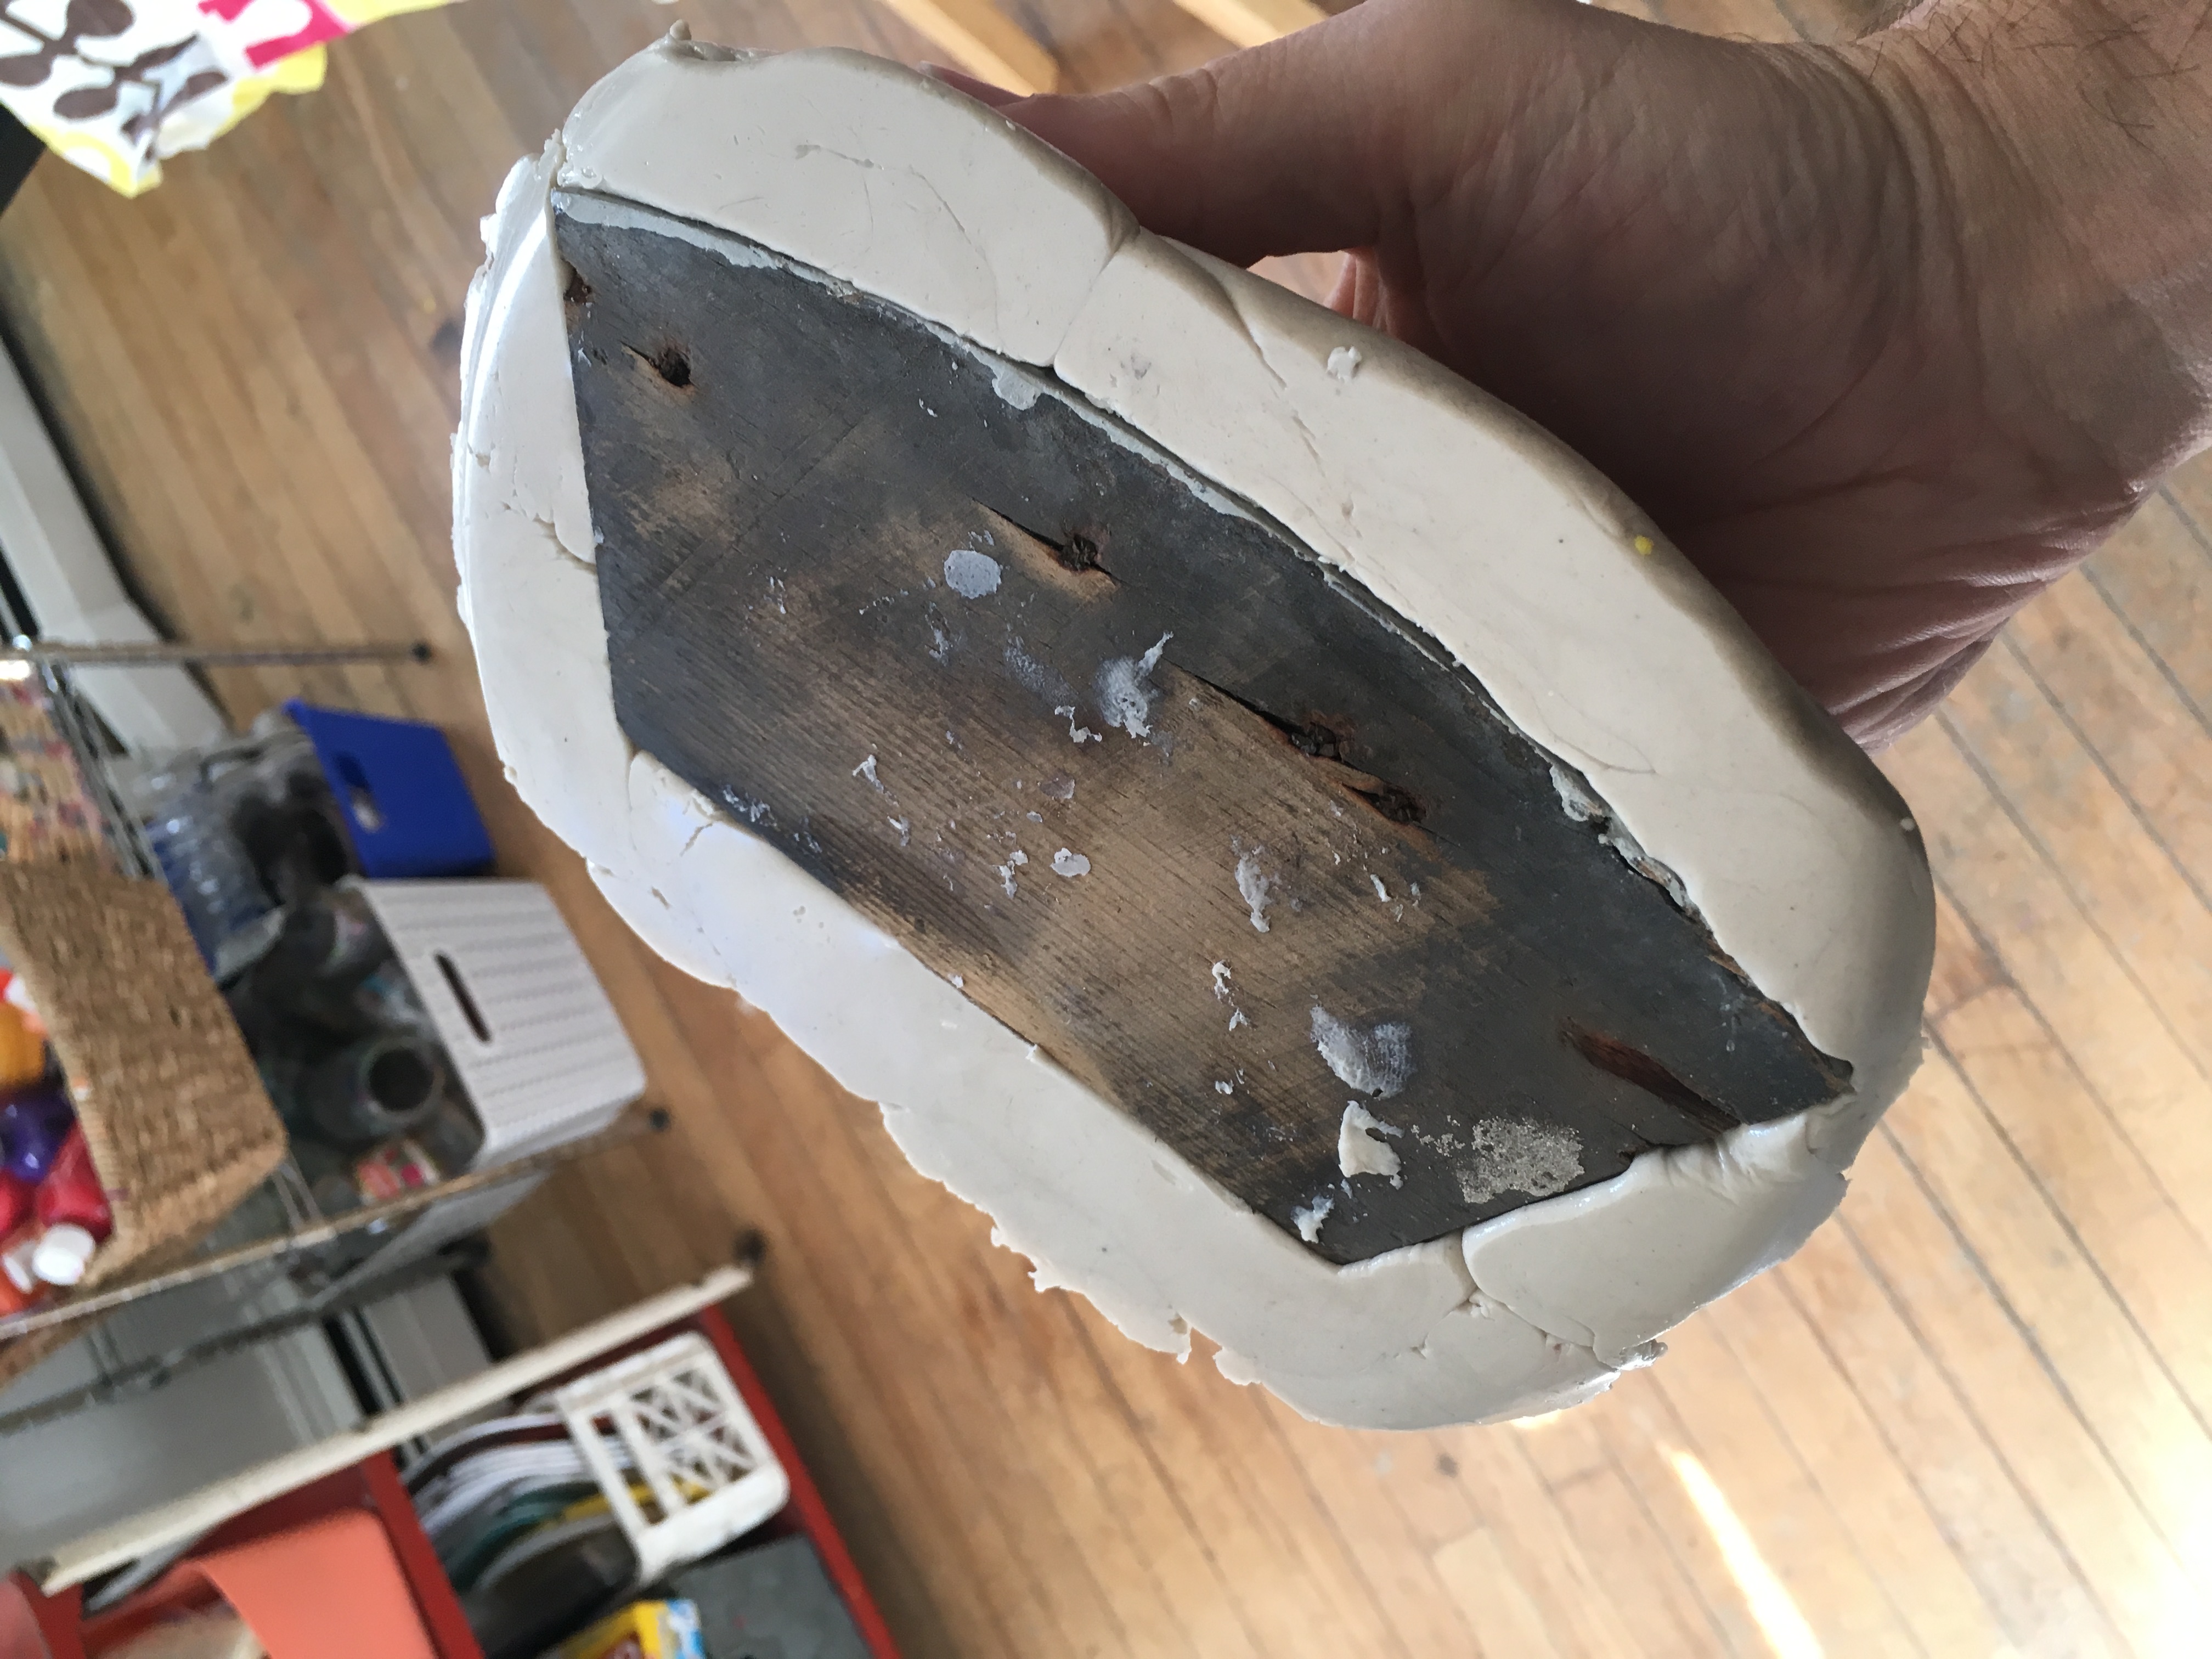
So the simple solution was to mold the pieces. Two different pieces made up the bottom of the column. A total of 32 pieces were needed to fit around 3 columns. Ten pounds of ImPRESSive Re-usable Molding Putty was used for these two components to make 4 molds. The advantages of the ImPRESSive Putty is that it is re-usable. So like any other tool that the carpenter uses for the construction or reconstruction of a room or a building or a porch, the Putty is used when you need it. The ImPRESSive Putty melts in a microwave, low temperature oven, convection oven, or slow cooker. When it is melted it is a soft putty that is PRESSed (thus the name :)) over the part.
The ImPRESSive Putty cools to solidify, so an hour in the freezer gave us a mold. Several times we decided we did not like how the mold came out, so we re-melted the mold and made it again. 
Woode Restoration with molds
We used ComposiCast resin with joint compound and plaster as fillers. ComposiCast is an epoxy resin that has reasonable strength. We also added a UV inhibitor. The resin ratio is 1:1 by weight or volume. ComposiCast also has a very wide range so you don't have to be that accurate with the ratios. The filler helped reduced the cost and the exothermic reaction. We added 50% filler to the resin mixture by weight. 
We planned on 10 hours cure time, but it ended up taking about 7 hours to become cured enough to pull the castings. This allowed us to do 2 pours per day. 
After this construction project was complete, the ImPRESSive Putty can be used for the next project just be re-melting and re-using. It is also excellent for fixing fixture on walls and ceilings by pressing over the fixture anytime you need to duplicate a shape.


Please share this and tell everyone you know about ComposiMold! Plus subscribe to see the next amazing blog post from ComposiMold!


Thursday, November 5, 2015

Can ComposiMold be used for body casting? ComposiMold's Questions of the week.


Can ComposiMold be used for body casting?

ComposiMold is not recommended for body casting because, it has the potential to cause burns. ComposiMold has a melting point of 135 degrees Fahrenheit and, It will typically be between 150-180 after melting in the microwave.

ReMold Putty hand impression


Fortunately ReMold Putty can be used to make body and paw impressions! 
Click Here: to learn more about ReMold Putty
 ReMold Putty Finger impressions.

Please tell everyone you know about ComposiMold! Plus subscribe to see the next amazing blog post from ComposiMold!

Monday, October 5, 2015

Make/Duplicate The Little Mermaid Using Remold Putty and InstaMorph

Duplicate The Little Mermaid and your other toys, sculptures, or items.

 
First add 2 drops of the activator to the bag for every 1oz of ReMold Putty. I used 6oz of ReMold putty so I added 12 drops of the activator. It is not important to be super accurate. Next place the putty in the microwave for 20 second intervals until it feels like clay and there are no clumps. Make sure to use the included microwave safe bag and keep it closed.

Allow the putty to cool until it is comfortable enough to touch then thoroughly knead and smooth the putty. If the putty is to hot it will slowly droop, wait until the putty is cool enough to hold it shape before creating your mold.

Push your object into the putty then diligently press the putty around the object making sure all the voids are filled. Allow the first half to solidify (you can speed it up by placing it in the freezer.) Once it feels like a stiff rubber the putty is ready. Rub a thin layer of mold release onto the first half of the mold then create the second half by pressing it onto the first half. Allow the second half to solidify and you are ready to cast.

Now pour your moldable plastic into boiling water, we used shape lock moldable plastic in this video which works the same as InstaMorph and other moldable plastics. Once the plastic turns clear remove it from the water, shape it and push it into the mold.

Now that you have a shape that is closer to the original, trim the excess place it back in boiling water and push it into the mold again. Keep doing this until you have removed all the excess and the shape is perfect.

Try starting with one part molds it’s a lot easier and practical.
 
Please share this video and tell everyone you know about ComposiMold! Plus subscribe to see the next amazing blog post from ComposiMold!