You can use ComposiMold as a biodegradable rubber casting material to use as a fishing lure! We simply added 3 Tablespoons of cornmeal and some food coloring to the melted ComposiMold and poured it into our ReMold Putty mold.
Now we can add a hook and we've got ourselves a winning fishing lure that will slowly dissolve in water. This means, you will not be harming the environment if your lure gets away...just like the last "big one" did...
Please share this video and tell everyone you know about ComposiMold! Plus subscribe to see the next amazing blog post from ComposiMold!
Epoxy is a plastic casting material. It begins as a liquid
but becomes hard over time by curing.
Typically epoxy is a two parts mixture:
Part one is the resin and Part two is the hardener. Epoxy works excellent as a
casting material, and it is also used
for composite structures such as aircraft, surf boards, fishing lures, and some
building work.
The advantages of epoxy include strength and ease of use.
Most epoxy casting material for home or small scale use cure at room
temperature and most epoxies are simple equal part mixtures by weight or
volume, and unlike urethanes, most epoxies work very well as a casting material
when small amounts of water is present.
To start casting with epoxy, the first step is to make a
mold. There are a variety of mold making materials available on the market
including silicone, latex, and wax based products, and if you are new to mold
making and casting, using a reusable mold making material will enable experimentation and reduce costs and
frustrations.
Because epoxies are versatile, a variety of mold release
material can be used to ensure that the epoxy cast does not stick to the mold.
Vegetable oil, mineral oil, or soap work effectively for small scale
productions, but for larger scale productions or composite work, mold releases
made specifically for epoxy are recommended.
Mix the two parts of epoxy together completely by stirring.
After mixing thoroughly, pour the epoxy
mixture into the mold and let stand until solidified.
Filler materials are used with epoxy to give the cast a
different appearance and properties. To make a stronger cast, glass fiber fillers of up to a quarter inch long are
used. To give the mold a unique appearance or to take up space, talcum powder,
wood sawdust, sand, or many other materials are used.
Epoxy is a versatile
casting material that will enable you to create your own unique products and castings from your molds. To learn more about
mold making and casting with epoxy, visit www.ComposiMold.com
This is a simple one part mold of a rubber duck. To stop the
rubber duck from floating when the ComposiMold is poured over it, clay and sand
was put inside the rubber duck. It also could have been glued down with hot
glue to the bottom of the container.
The part was then coated with Bubble Buster to reduce
bubbles from adhering to the part. We dip it into the Bubble Buster, but we
could also have sprayed it on. Be sure to get it into any crevices.
The duck is placed inside a mold box. We used a PVC pipe, but
any container that can handle a little heat will do. You can also use legos to
build a box or aluminum foil that has been sprayed with a mold release also
works well.
Melt the ComposiMold and pour over your part. To melt the
ComposiMold, follow the direction on the label. Melt in short intervals until
you are comfortable with how it melts in your microwave. You can also use a
double boiler or a chocolate melter.
A toothpick or paperclip can be used to pull bubbles away
from any areas where bubbles may stay such as in undercuts or sharp corners. In
this case, we expect bubbles to adhere to the neck area and below the beak.
We don’t show it in this video, but the ComposiMold is
cooled rapidly by placing it in the freezer. It took approximately 30 minutes to
cool, but to ensure it was very cold before pouring in the urethane resin, we
left the mold in the freezer for 2 hours.
You then remove the duck from the mold and spray the inside
of the mold with a mold release that is designed for urethane resin.
The ProtoCast urethane resin is a bright white plastic with
a demold time of 15 to 20 minutes.
While the mold is still cold, pour in a PrototCast Urethane
resin. The urethane is mixed 1:1 by volume.
If necessary, place ComposiMold back into the freezer to
keep the mold cold while the urethane is curing. This helps reduce any melting
of the ComposiMold from the exothermic reaction from the Urethane. Longer cure
time resins have less of this heat.
At this time, the plastic duck is made. You can remelt the
mold to make a new mold, or you can make another casting with the ComposiMold
mold.
Here we also show the plastic duck made with ComposiCast
urethane resin. It works the same way. Be sure to keep the mold cool if
necessary throughout the process.
The keys to success for a urethane casting is to use Bubble
Buster when making your mold
Keep the ComposiMold cold throughout the process
Use a mold release designed for urethane resin and make sure
it is completely dry.
And if possible, use longer cure time resin systems.
Concrete isn't just for house foundations anymore! In my latest project I used concrete as my casting material to make a delicate tile to be used as a decorative accent in a plant pot or small garden.
Supplies:
ComposiMold-LT
Silicone Mold Release
Bubble Buster
A wooden detail from the hardware store as my master object
A mold box
Hot glue
QuickCrete brand concrete
Water
Dish to mix concrete in
Stir sticks
Gloves
Open window for ventilation
Steps:
Hot glue your master object down into a container that can withstand the heat of the melted ComposiMold.
Apply a Silicone Mold Release to the object and the mold box.
Apply Bubble Buster to reduce surface tension and bubble formation when making your mold.
Pour melted ComposiMold over master object.
Let ComposiMold solidify back to it's original rubbery consistancy.
Pull the master object out of your mold.
Spray Silicone Mold Release into the mold.
Mix concrete per product instructions. I made sure my concrete was wet enough to be able to press it into my ComposiMold but overall much drier than I originally thought it should be. This ensures that your cast will be strong enough. A mix that has too much water will be very weak.
Let the concrete harden per product instructions. I let my cast cure in my mold for 24 hours to be sure it wouldn't break.
Enjoy your own concrete tile made from a wooden object you picked up at the hardware store!
Happy Mold Making! Michelle
For More Information visit:
www.ComposiMold.com
www.Facebook.com/ComposiMold
www.YouTube.com/ComposiMold
order at
www.ComposiTherm.com
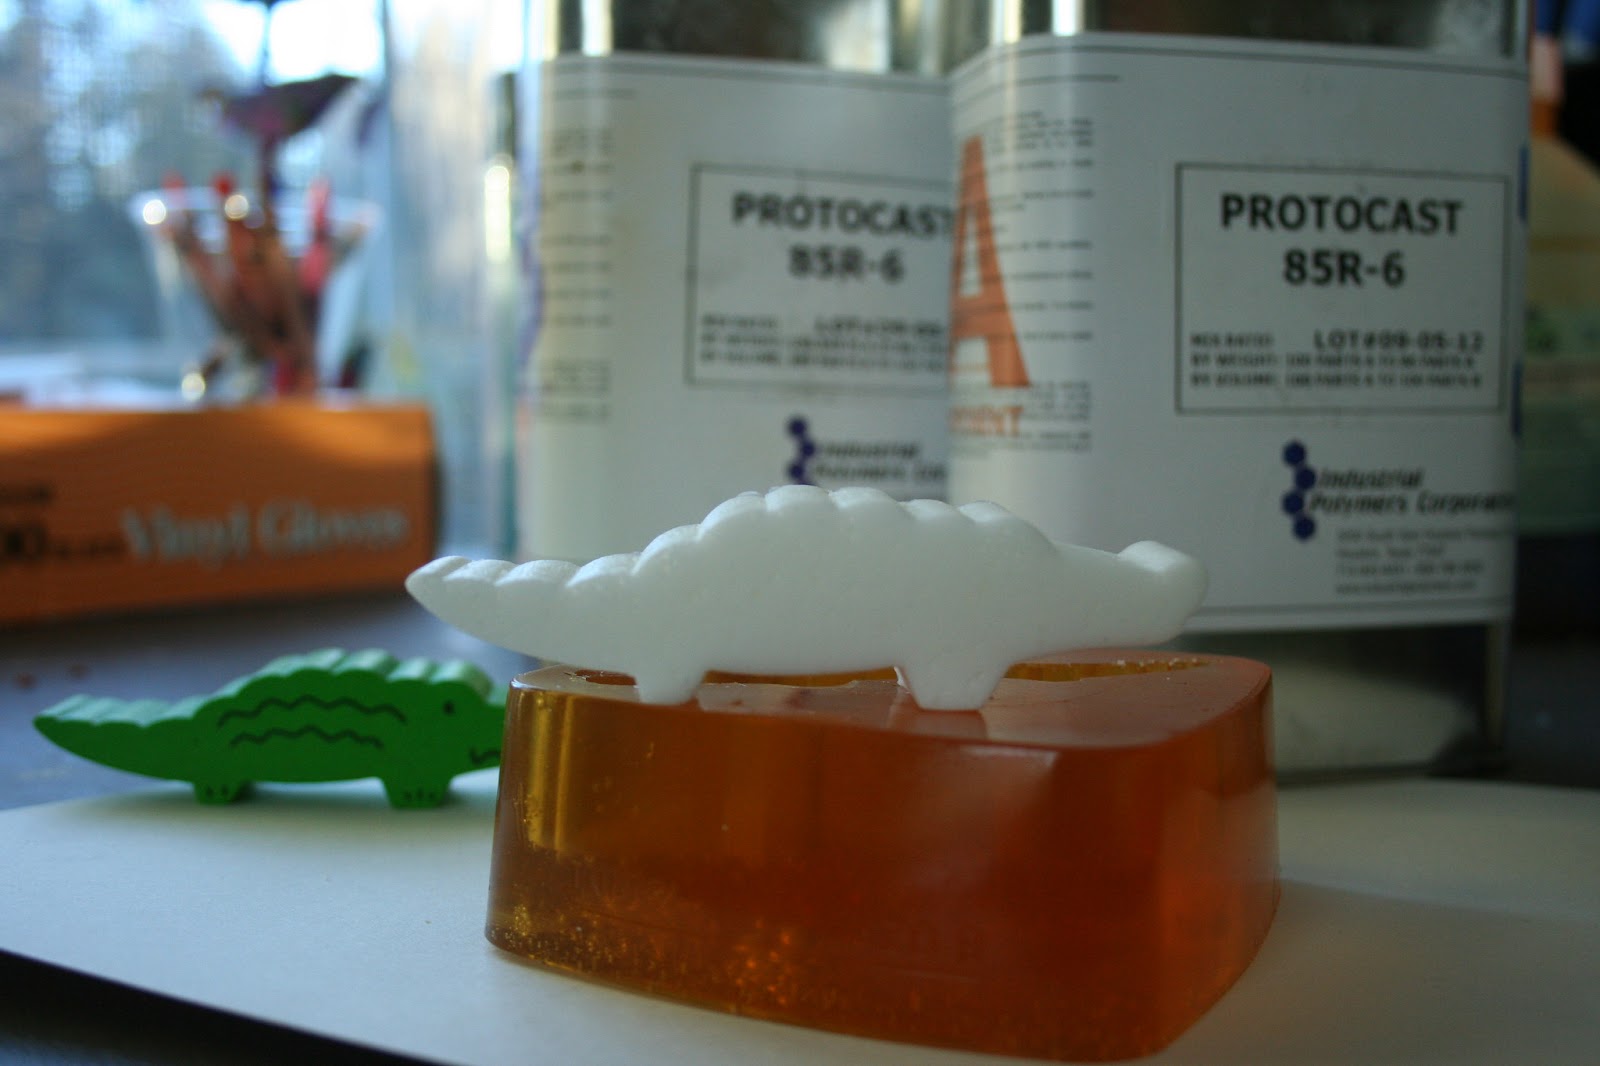
We are always offering new products on our website including this polyurethane resin casting material called ProtoCast. I used it this morning and had great results. The color is a bright white and the surface of my cast is very smooth.
I mixed Component A and Component B by volume which means you can mix it 1:1. You can also mix it by weight which is 100 parts Component A to 86 parts Component B. Easy! I waited 20 minutes and it had cured perfectly at room temperature.
Note: If you are making a large cast, I would recommend cooling the mold in the freezer (or wrapping a larger mold in ice packs) once you pour the ProtoCast. This will slow down the curing process which produces heat that could compromise the integrity of your mold.
Keep checking back to our website to see what kind of new products we've added. And never hesitate to let us know what else you might need for your molding and casting projects.
Happy Mold Making ~Michelle
For More Information visit:
www.ComposiMold.com
www.Facebook.com/ComposiMold
www.YouTube.com/ComposiMold
order at
www.ComposiTherm.com