Showing posts with label plastic casting. Show all posts

Sunday, January 8, 2017

Plastic Casting and Rubber Casting

Here we describe the plastics and rubbers as basic types of material to use as a casting material:

Plastic casting parts
Plastic parts cast in molds
 Rubber or elastomeric: Rubbers range from super soft to hard, almost like plastic. The hardness are ranked from Shore OO-5, very soft like a rubber fishing lure to Shore A to Shore D of 80 or 90, which is hard like a skateboard wheel.  Rubbers can be silicones, urethanes (also called polyurethanes), latex, PVC based, and others. The two recommended for most castings is urethane rubber or silicone rubber, and there are a lot of different options based upon the other properties you are looking for such as amount of elongation, strength (typically listed as tensile strength), tear strength (how easy it is to rip after a rip has started), color and feel, and how easy it is to make.  Thermoset resins require mixing two parts together and depending on the resin, this ratio will be different. If the instructions for a particular resin do not say specifically, they are typically mixed by weight, although many will give the mixture ratio as both by weight and volume. Each one of those rubbers will be discussed in future blog posts.
Rubber casting of an X, made with silicone rubber 

Plastic: we hear a lot of people ask for plastic that acts like the plastic of an Army soldier.  Army soldiers that you buy are made from thermoplastic resins, but you will likely be casting with thermoset resins. The difference is thermoplastics are melted into a thick goo and squeezed into the molds. Whereas the thermosets are two part resins that are mixed together as a liquid (or paste) and poured into your molds. It’s a lot easier to make your own castings with thermosets because it can be poured. Thermosets, after they are cured, cannot be re-shaped.  Thermosets can have very similar properties as compared to thermoplastics.
Different types of plastics include urethanes, epoxies, polyesters, vinyl esters, and others. For home or small industrial, the main plastic resins are epoxies and urethanes. Polyesters are much cheaper, but the smell and toxicity are extremely detrimental. It is also more complicated to use.


Rubber Casting Material

“Exotherm” of a Casting Material is the heat of reaction produced as a resin or rubber cures. If the casting is thin then heat is easily dissipated in the mold, but thicker pieces will create more heat. To compensate, large pieces can be poured in intervals or add fillers to the casting material.


Please share this and tell everyone you know about ComposiMold! Plus subscribe to see the next amazing blog post from ComposiMold!


Tuesday, August 9, 2016

Ten Most Compatible Casting Materials with ComposiMold

Here are some quick tips for the variety of casting materials you can use in a ComposiMold mold:
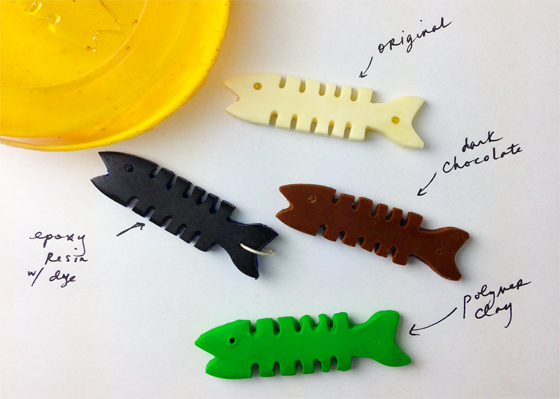
EPOXIES: Epoxy Resins, Putty, or Clay
Epoxies work well for pieces up to 8 cubic inches. For larger castings of 8+ cubic inches, choose epoxies with longer cure times of 24+ hours. Experiment with freezing the mold prior to pouring epoxy resins that create a lot of heat during curing. Epoxy resins that require an added heat source for curing are not recommended.

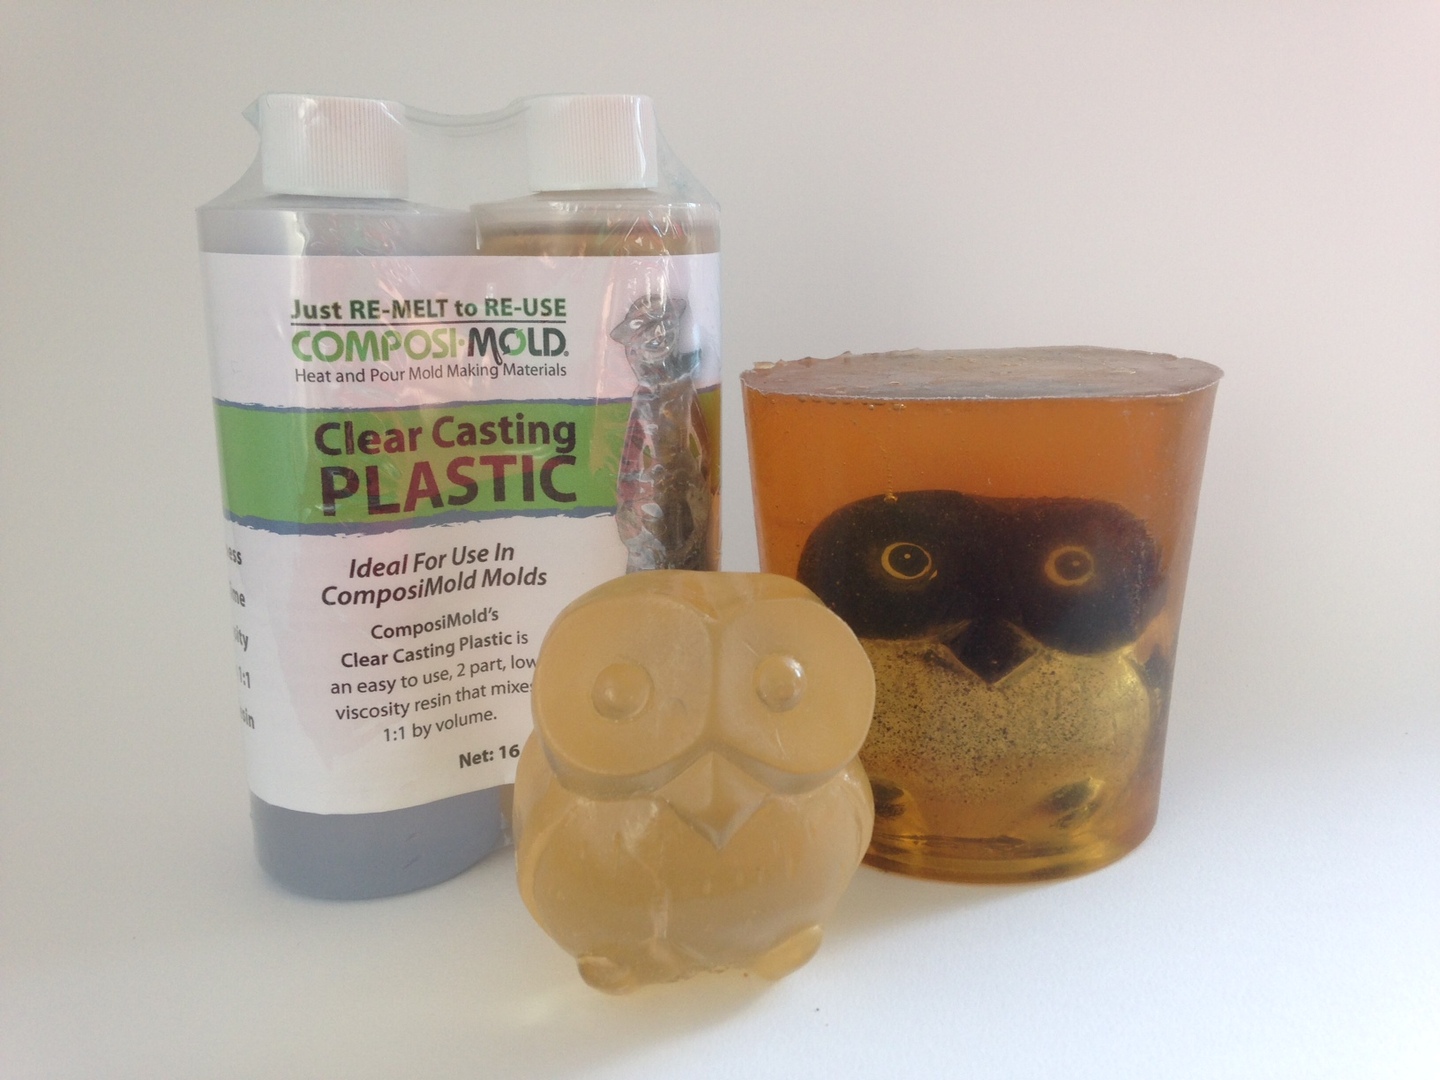
Try our jewelry grade, crystal clear, Clear Casting Plastic for castings up to 6 cubic inches. Chill the mold for castings up to 20 cubic inches.

URETHANE OR POLYURETHANE:
Choose a urethane with a longer cure time. These create less heat as they cure. You can also experiment with freezing the mold prior to pouring higher temperature urethane resins. Be sure to use talc powder/baby powder as your mold release before each casting made.

SILICONE:
Silicones work great in ComposiMold molds. Make castings with both platinum or tin cured silicone rubbers.

PLASTER/CONCRETE:
Mix plaster and water together in a 72 parts plaster to 28 parts water, by weight, or to a toothpaste-like consistency. Traditional plasters cure well but leave a slight soft layer on the outside of the casting. To avoid this, apply a layer of Plaster Release to the mold before pouring casts. Fast curing masonry cements work great and cure extremely strong. Follow instructions for mixing ratios.

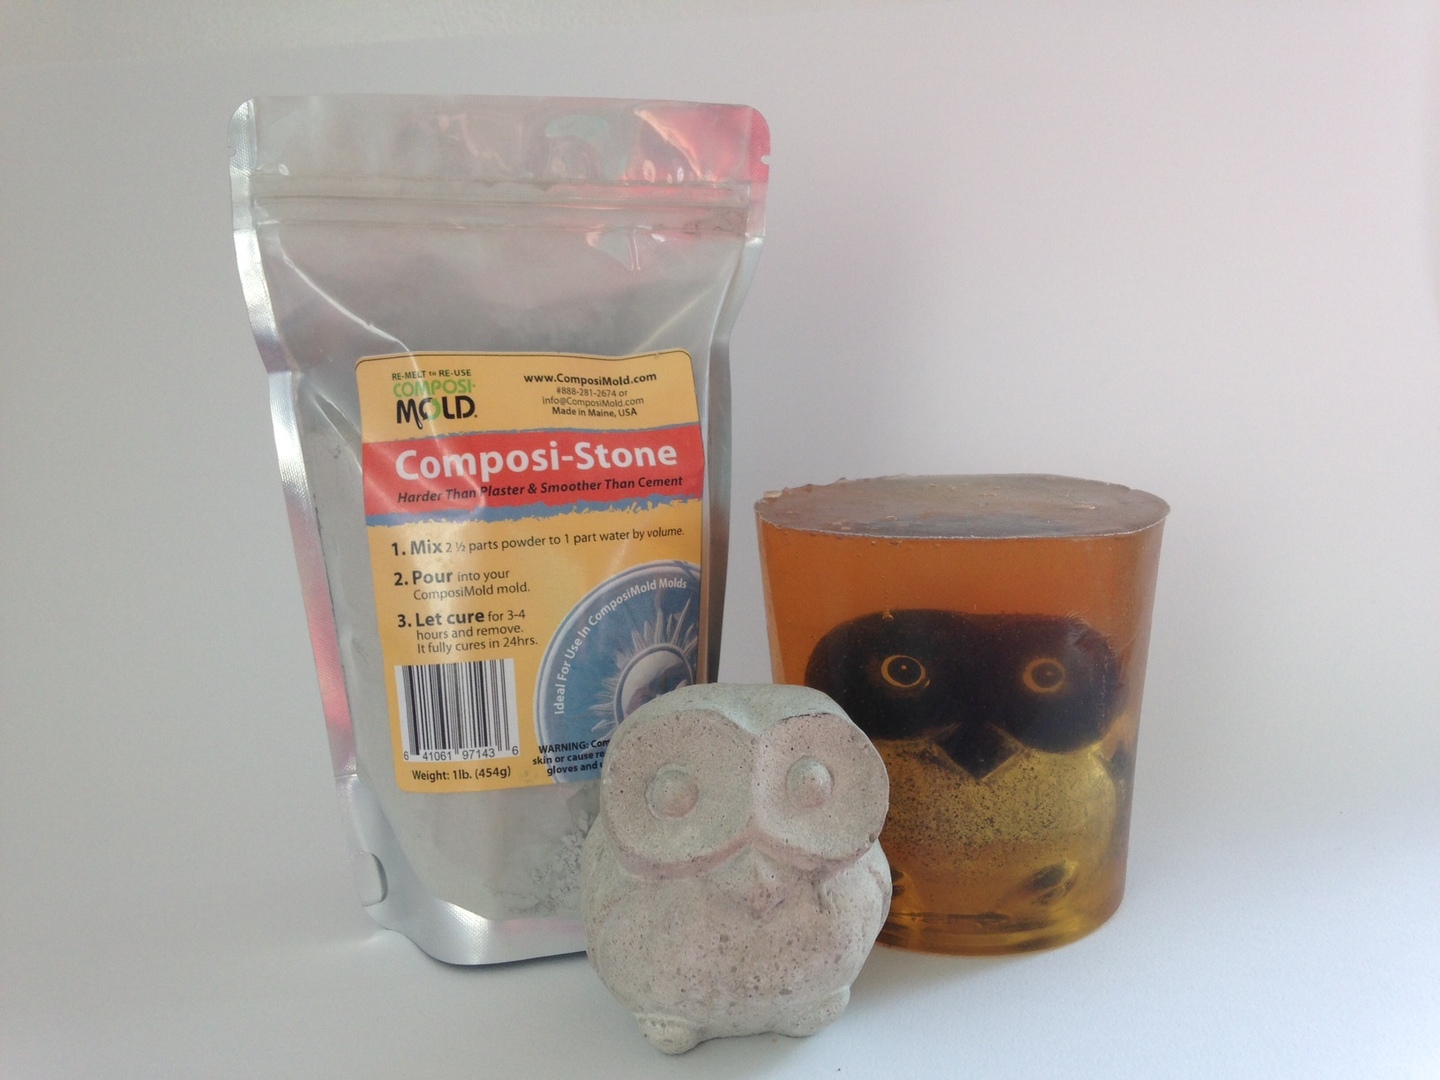
Try our ComposiStone formulation! It’s smooth like plaster but hard as concrete. It works very well in a ComposiMold mold.

SOAPS:
Shea Butter and Glycerine Soap make great soaps! Chill the mold prior to pouring any higher temperature soaps (above 140ºF).

WAXES: (for candle molds or encaustic casting)
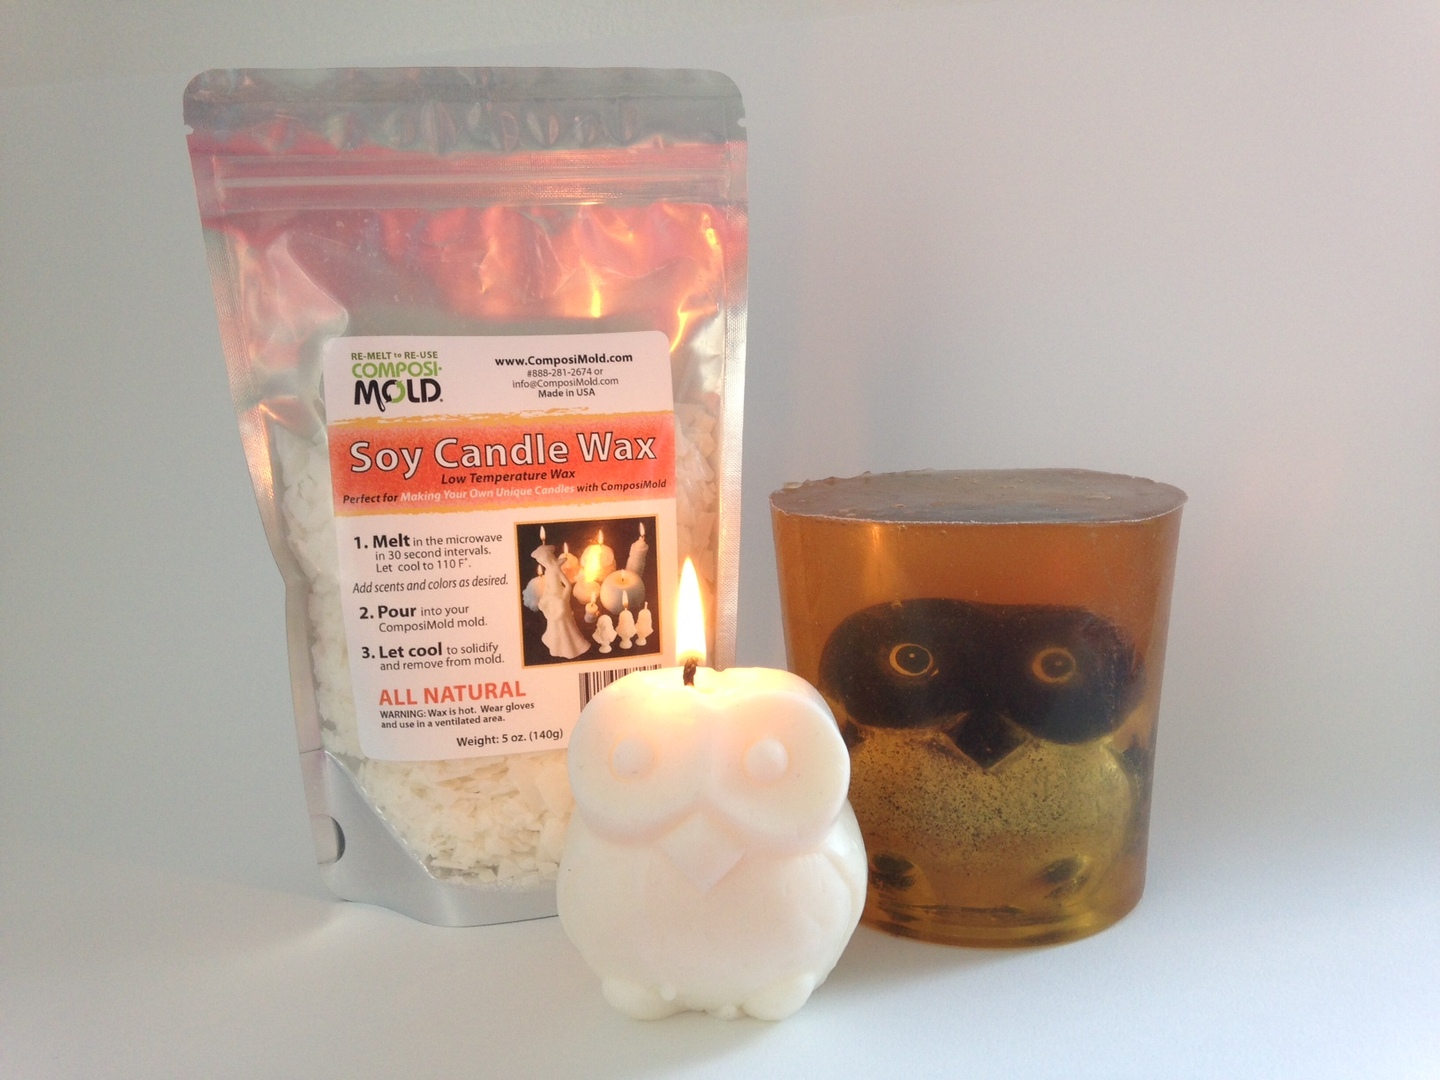
Soy, Paraffin, Beeswax, and Melted Crayons work really well. Chill the mold first for higher temperature waxes (above 140ºF).

Try our all natural Soy Candle Wax for candle making and beautiful wax castings. Cools to a white, creamy finish!

CLAYS:
Use any type of polymer clay, modeling clay, putty, or real clay for push molding in a ComposiMold. Do not use clay in a slurry form or the water will degrade the mold.

CHOCOLATE:
Pour or pipe many types of melted chocolate into your mold. Lightly tap or vibrate the mold to release air bubbles in the chocolate. No mold release is necessary for chocolates.

FONDANT:
Press softened fondant into your mold with your hands or a rolling pin and remove immediately. No mold release is necessary for fondant.

When casting edible treats, you can also use: no-rise cookie dough recipes, gummies, gum paste, ice, butter, and more!

...AND MANY MORE:
For your art, craft, hobby, and hardware projects, you can also try: adding fillers and dyes to casting materials, ComposiMold itself as a rubber casting material, Modeling Compounds, Polyester Resin, Paper Mache and many more!

Do you have a question about using a specific casting material that was not answered here? Email or call anytime!


Please share this video and tell everyone you know about ComposiMold! Plus subscribe to see the next amazing blog post from ComposiMold!

Friday, October 23, 2015

2 Part Molds with ReMold Putty

Some shapes require a 2 part mold to duplicate them. These shapes tend NOT to have a flat back, do have negative space between portions of the shape, and severe undercuts. Any shape that you want to duplicate all sides of will require a 2 part mold.


You can see in this video that Shawn wanted to make a second part exactly like the original object. He loves My Little Pony and he was excited to have TWO tiny horses to play with. (Just kidding, Shawn)You may want to apply this same process to your toys too.

ReMold Putty is easy to press shapes into or press onto shapes!

https://youtu.be/o6QpknplHnQ


Please subscribe to see the next amazing blog post from ComposiMold!
For More Information Visit: 

Sunday, May 5, 2013

The Power of ComposiMold to Clone Anakin Skywalker


In this twisted and completely made up turn of events, Anakin Skywalker is being cloned to make the next Clone Army.  This video demonstrates how the new clone army is to be made using ComposiMold Reusable Mold Making material and a urethane resin.

The process begins by dipping the Jedi master shape into a Bubble Buster solution. This Bubble Buster can also be sprayed. The Bubble Buster reduces surface tension so the bubbles do not stay attached to the surface of the Jedi Master.

He is then placed carefully into the cloning box, also known as the mold box, or in this case a plastic cup.
The Cloning solution, ComposiMold, is first melted with electromagnetic radiation using a specialized heating system called a microwave. The melted ComposiMold is poured over the Jedi Master. A toothpick or paperclip can be used to pull bubbles away from any areas where bubbles may stay such as in undercuts or sharp corners.

When Anakin is completely covered, the mold cools to solidify. This cooling took approximately 1 hour at room temperature. The Jedi Master is removed from the ComposiMold mold. To help make the part easier to remove, a slice was cut along the back. The process was started with scissors, but a scalpel ended up being a little easier.

Each action figure must be made to look like the first to create the new army is to be constructed.
Because we are using a very fast curing urethane resin in this cloning process, the mold must remain as cold as possible so as to not melt the ComposiMold. We will place the mold in the freezer prior to pouring in the urethane to reduce the temperature of the mold.

The sides of the mold are taped shut again to keep the mold together and the urethane in.
Spray the mold with mold release and let the mold release completely dry before pouring in the urethane resin.
After the ComposiMold mold has been in the freezer for about 30 minutes, pour the urethane resin into the mold. Place the mold back in the freezer while the urethane cures. This will slow the curing time slightly, but not much. The entire process takes approximately 10 to 20 minutes depending on the urethane used.
Anakin has now been cloned! But does the new clone also have the power to control the force or just Anakins good looks?
Thank you and may the force be with you!
For more information visit: www.ComposiMold.com
To order the urethane resin used in this video, PureCast, visit: http://compositherm.com/2pu.html

For More Information visit:www.ComposiMold.com  
www.Facebook.com/ComposiMold
www.YouTube.com/ComposiMold
order at www.ComposiTherm.com

Monday, August 20, 2012

“Pushing” the Limits of PowerMold with Shapelock


In our quest for new and interesting casting materials we have found another to use with PowerMold:

 Shapelock is a plastic that becomes putty-like when melted in hot water and becomes rigid at Room Temperature. It is similar to InstaMorph and several others made from polycaprolactone plastic. It turns clear when it is in rubbery form and cools to a white slippery, hard, plastic.

So the question to answer: PowerMold works great as a push mold for clays, but can PowerMold be used to make push molds with Shapelock while at 160 F? And since we are reporting it, (spoiler alert) the answer is, yes.

Shapelock molded with PowerMold


 Thank you to Steve at Eepy Bird for making us aware of Shapelock. He saw it at the Maker Show in New York last year.

 The process:

Make your mold from PowerMold by melting in the microwave and pouring over your part you are duplicating. Start with a simple 1-part mold, but you could make more complicated molds by pressing two halves together.


 The mold must be hard to be able to push the Shapelock into the mold. To make the mold stiffer and to allow the PowerMold to handle the temperatures of the hot Shapelock, place the PowerMold in the freezer for a while.

 Push the melted Shapelock into your mold cavity and fill the voids.

Push the casting material into the PowerMold mold

Press the Shapelock into all the crevices while still hot


That’s it. You don’t need a mold release to make the castings.  Since both PowerMold and Shapelock are reusable, you can melt and remelt the PowerMold and the Shapelock to make a variety of shapes.

Shapelock molded with PowerMold


That’s a cool (or hot) ice cream.

Thank you! Please let us know your thoughts, and let us know what Please let us know what you are making!

For More Information visit: