Showing posts with label Plaster casting. Show all posts

Saturday, January 13, 2018

Casting with Plaster of Paris and ComposiMold or ImPRESSive Putty

Casting with Plaster of Paris

ComposiMold Plaster of Paris Casting from a real seashell
Seashell in Plaster of Paris
Plaster of Paris is low cost, easy to use, and makes good castings. Plaster of Paris comes as an easy-to-mix formula that mixes with water and dries to a dense, durable, and smooth and bubble free finish. Plaster of Paris is a great material to use for basic castings and molds and art projects because it is simple to mix and use. The Plaster of Paris sets in a few minutes, although it takes an hour before it is ready to be removed from the mold. It takes 24-48 hours to fully cure. Using Plaster of Paris is easy, but there are procedures to follow that will make you successful in your plaster castings.

ComposiMold Plaster of Paris Casting of frogs for a garden
Plaster Casting of Frogs
Plaster of Paris is not a plastic. It is a hard white substance made by the addition of water to powdered and partly dehydrated gypsum. It is hard like a cement or concrete but white and not as strong. So don’t use plaster for very thin castings. Basic shapes or designs that have a solid backing to them will be more successful. If you need some flexibility or stiffness in the final castings, then move to a plastic.


Creepy Plaster Casting of a Dolls Head


Materials you will need:
·         Plaster of Paris powder. For ComposiMold or ImPRESSive Putty Molds, please use our ComposiMold plaster that has been formulated to cure to a strong solid casting in these molds. By creating cure more quickly, the water in the plaster does not react with the ComposiMold or ImPRESSive Putty to give strong, hard plaster castings. You can also purchase a powder additive to add into any plaster of paris to obtain a similar affect.
ComposiMold Plaster of Paris Casting
·         Water: Use cold water to cure slower and give you more control over the reaction and give more time to fill the molds.
·         Mixing container that is large enough to hold to water and plaster. Plastic containers are nice because you can deform them afterwards to break away the hard plaster and re-use the container.
·         Measuring cup or any cup that can be used to measure out 3 parts of plaster powder to 1 part water.


Make your Plaster Castings

The ideal ratio for a Plaster of Paris mixture is 3 parts Plaster of Paris powder to 1 part water. Measure out the water and pour it into your mixing container. Some recipes suggest 2 parts plaster to water, but this will create a much weaker plaster casting. The thicker you can be while still being able to pour the better. Start with a 3 to 1 ratio and if necessary add small amounts of water to make it easier to pour.

Break any clumps of plaster up with a spoon. If you use your hands to mix, be sure to wear gloves.

When mixing the water and plaster, you should mix the powder into the water.  Pour the plaster powder into the water spreading it out over the surface of the water. After it is poured all poured in, tap the sides of the mixing container and let the plaster powder fill with water to reduce bubble formation. The plaster powder will sink into the water. When you are finished adding the plaster, it will be slightly above the surface of the water and not easily absorbed by the water.

Gently stir the plaster and water to form a nice slurry similar to a thick pancake mix.  Gentle stirring of the plaster will reduce the chance of bubbles being mixed into the mixture.
Pour the plaster into your molds. If you want to learn how to make your own molds, check out our mold making videos and get your free mold making e-book.


A couple other tips for plaster casting:
Do not pour any extra plaster down your drain. It can harden and destroy your plumbing. You can dilute the plaster so it does not create a hard plaster or let it harden and throw it away.

To make colored plaster, you can add colorants to the plaster mix while it is still in liquid/paste form. Remember that you will be adding color to white, so you will need more colorant to make darker colors. Any types of paint will work.

To paint the plaster casting after it has cured, use a layer of gesso or primer first to seal the plaster, and then you can paint the plaster any way you want.


Video of Plaster Casting of a Duck Decoy


ComposiMold Plaster of Paris Casting of an Ice Cream


Monday, October 23, 2017

The 7 Key Steps to Molding Successful Plaster Castings in a ComposiMold mold.

The 7 Key Steps to Creating Successful Plaster Castings in a ComposiMold mold.

Making a Plaster of Paris Casting in ComposiMold: 

Follow the basic mold making instructions on our mold making instructions provided with every ComposiMold to make a mold with ComposiMold. The tips below will set you up for success when using plaster of paris, hydrocal, ultracal, dental plaster or other plasters as your casting material. 

Plaster of Paris Casting in ComposiMold
With ComposiMold, making molds and plaster castings is really easy. Here are seven tips of the trade:

1. Keep the plaster of paris casting material as thick as possible to ensure a strong casting. Start with a ratio of 2.5 parts plaster to 1 part water by volume and if possible reduce the amount of water. If you need more water to make it pourable, add very small amounts.

Mix ratio for Plaster of Paris
Mix ratio for Plaster of Paris 

2. Add a t-spoon of PVA glue such as Elmer's Glue for every cup of water to make the casting stronger. A bit of alum powder will also increase the strength of the plaster of paris.

3. Use talcum powder as a mold release. Sprinkle it into your mold shake it around, and then pour it out. This does two things: works as mold release and also creates a barrier so that the plaster of paris hardens in the ComposiMold. Even better, is a mixture of talcum powder (baby powder) and mineral spirits. 
Plaster of Paris Casting of Buddha

4. Pour the plaster into the lowest point of the mold and let it rise upward to help dislodge bubbles.

5. Large plaster of paris castings may need to be cooled. Large for plaster castings would be 500 cubic inches or so, so pretty large.Typically, plaster does not create a large exotherm, but for very large castings, this may occur. This is easy to work around by cooling the ComposiMold mold first in the freezer or refrigerator. 

6. Tap and bounce your mold when it is filled with the plaster to dislodge any bubbles to create bubble free castings.

7.  Pull the plaster of paris casting out of the mold as soon as possible and then let it cure for 24 to 48 hours before painting or sealing.


Plaster of Paris Casting of Wood Ornament

Experiment: With ComposiMold you can make lots of different molds with the same mold making material. Make a mold, cast your plaster of paris, and do it again. Simple, effective, and fun.

Plaster of Paris makes a nice casting material for teaching mold making because it is relatively inexpensive. It can also be painted, sanded, and fixed easily.


Tuesday, August 9, 2016

Ten Most Compatible Casting Materials with ComposiMold

Here are some quick tips for the variety of casting materials you can use in a ComposiMold mold:
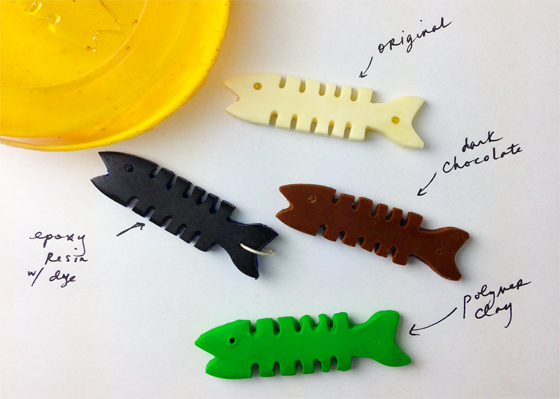
EPOXIES: Epoxy Resins, Putty, or Clay
Epoxies work well for pieces up to 8 cubic inches. For larger castings of 8+ cubic inches, choose epoxies with longer cure times of 24+ hours. Experiment with freezing the mold prior to pouring epoxy resins that create a lot of heat during curing. Epoxy resins that require an added heat source for curing are not recommended.

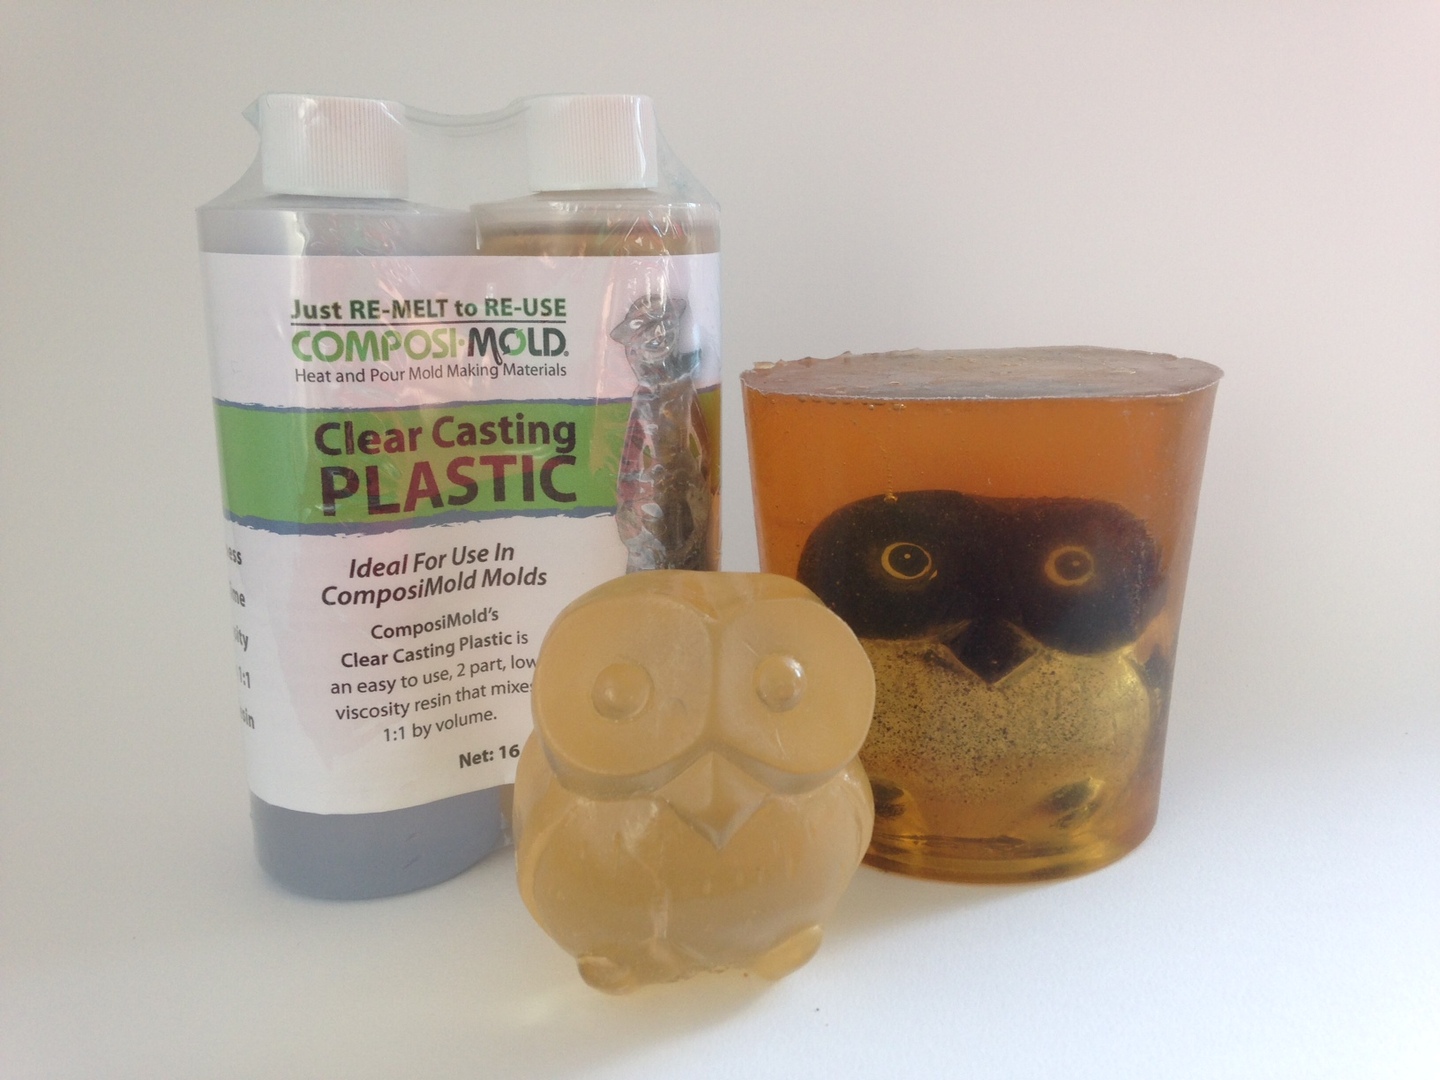
Try our jewelry grade, crystal clear, Clear Casting Plastic for castings up to 6 cubic inches. Chill the mold for castings up to 20 cubic inches.

URETHANE OR POLYURETHANE:
Choose a urethane with a longer cure time. These create less heat as they cure. You can also experiment with freezing the mold prior to pouring higher temperature urethane resins. Be sure to use talc powder/baby powder as your mold release before each casting made.

SILICONE:
Silicones work great in ComposiMold molds. Make castings with both platinum or tin cured silicone rubbers.

PLASTER/CONCRETE:
Mix plaster and water together in a 72 parts plaster to 28 parts water, by weight, or to a toothpaste-like consistency. Traditional plasters cure well but leave a slight soft layer on the outside of the casting. To avoid this, apply a layer of Plaster Release to the mold before pouring casts. Fast curing masonry cements work great and cure extremely strong. Follow instructions for mixing ratios.

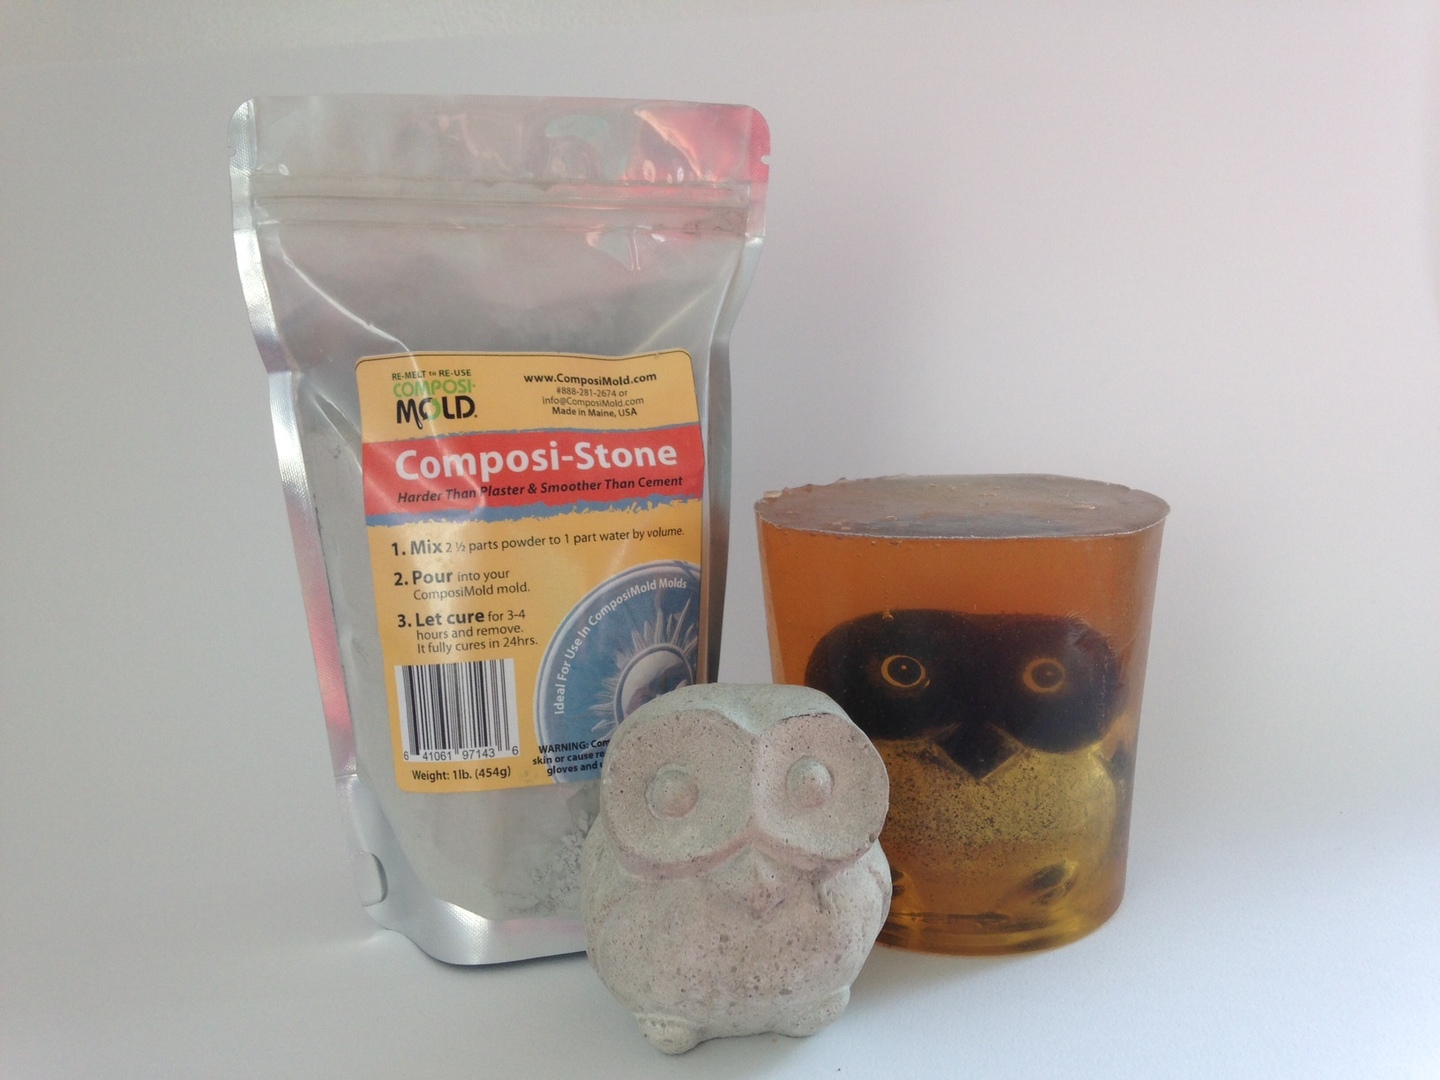
Try our ComposiStone formulation! It’s smooth like plaster but hard as concrete. It works very well in a ComposiMold mold.

SOAPS:
Shea Butter and Glycerine Soap make great soaps! Chill the mold prior to pouring any higher temperature soaps (above 140ºF).

WAXES: (for candle molds or encaustic casting)
Soy, Paraffin, Beeswax, and Melted Crayons work really well. Chill the mold first for higher temperature waxes (above 140ºF).

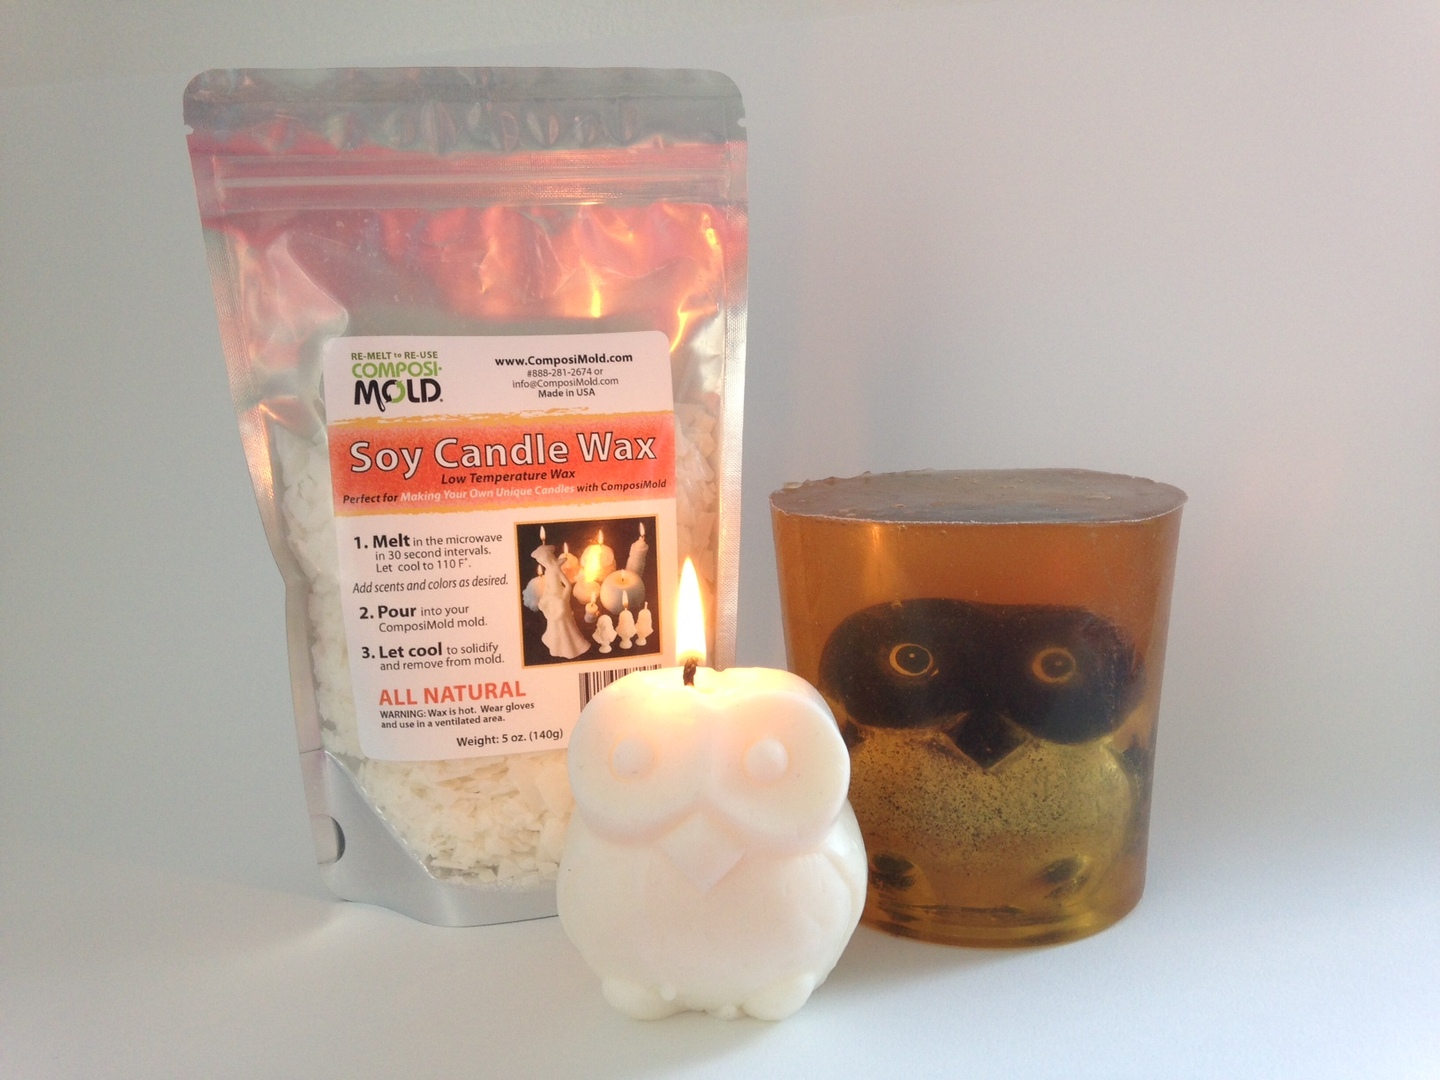
Try our all natural Soy Candle Wax for candle making and beautiful wax castings. Cools to a white, creamy finish!

CLAYS:
Use any type of polymer clay, modeling clay, putty, or real clay for push molding in a ComposiMold. Do not use clay in a slurry form or the water will degrade the mold.

CHOCOLATE:
Pour or pipe many types of melted chocolate into your mold. Lightly tap or vibrate the mold to release air bubbles in the chocolate. No mold release is necessary for chocolates.

FONDANT:
Press softened fondant into your mold with your hands or a rolling pin and remove immediately. No mold release is necessary for fondant.

When casting edible treats, you can also use: no-rise cookie dough recipes, gummies, gum paste, ice, butter, and more!

...AND MANY MORE:
For your art, craft, hobby, and hardware projects, you can also try: adding fillers and dyes to casting materials, ComposiMold itself as a rubber casting material, Modeling Compounds, Polyester Resin, Paper Mache and many more!

Do you have a question about using a specific casting material that was not answered here? Email or call anytime!


Please share this video and tell everyone you know about ComposiMold! Plus subscribe to see the next amazing blog post from ComposiMold!

Friday, January 30, 2015

What is Plaster

Plaster is dry powders that are mixed with water to form a soft but brittle solid.There are many different uses for plaster.
It is used to create art and for coating walls and ceilings.  Investigators use plaster to make duplicates of footprint impressions or tire marks, dentists use plaster to make castings for dental work, and doctors use plaster for putting a cast over a broken bone. The most common use of plaster is for general repair and maintenance around the home including repairing dents and holes in walls and filling in holes before painting.

Gypsum plaster, or plaster of Paris, is produced by heating gypsum to about 300 °F. Artist use gypsum to simulate the appearance of wood, stone and metal, on movie a sets. This is the typical material used for art sculpture and mold making.

Lime plaster is a mixture of calcium hydroxide and sand or other filers.  Carbon dioxide in the atmosphere causes lime plaster to set by transforming the calcium hydroxide into limestone AKA calcium carbonate. To make lime plaster, limestone is heated to produce quicklime, which is calcium oxide. Water is then added to produce slaked lime, or calcium hydroxide. This is sold as a wet putty or a white powder. When exposed to the atmosphere, the slaked lime very slowly turns back into limestone through reaction with atmospheric carbon dioxide, causing the plaster to increase in strength.

Cement plaster is amixture of plaster, sand, cement, and water.  This is normally applied to masonry interiors and exteriors to achieve a smooth surface. Cement plaster was first introduced in America around 1909 and was often called by the generic name adamant plaster after a prominent manufacturer of the time. The advantages of cement plaster  are good strength, hardness, fast quick setting time, and durability (for outdoor use).

Plaster, plaster of Paris, or other versions such as hydrocal or ultracal, may be used as a casting material just like other materials such as soap, wax, concrete, or plastic resin. The benefits of using plaster is its relatively low cost, simple ingredients, and good castability. Depending of the version of plaster used, casting times range from 20 minutes to 24 hours. Like cement, the plaster castings become stronger over time and typically reach its strongest after about a month.

There are many types of mold making material that will work while using plaster as a casting material including latex, silicone, and ComposiMold. When casting with plaster, the finished product can be painted with most types of paint.

For More Information Visit:www.ComposiMold.com, www.Facebook.com/ComposiMold, www.YouTube.com/ComposiMold To Order ComposiMold Products Visit: www.store.composimold.com

Thursday, August 28, 2014

Plaster in a ComposiMold

Thursday Quick Tip:

When using Plaster in a ComposiMold mold, be sure to mix the plaster and water at a 3 Part Plaster to 1 Part Water ratio. This may seem too thick to you but we assure you, it will yield successful, strong parts and it won't degrade your mold like an overly wet mixture would.


For this small mold, I used a stir stick to "smear" the plaster and water mixture into the most detailed areas of the mold first. Then I picked up and dropped the mold onto the table a few times to release any air bubbles that might have been trapped in the plaster. Then I "smeared" more plaster into the mold until it filled the rest of the cavity.


I then used the stir stick to gently scrape out any excess plaster while it was still soft. This will save you a lot of time and energy cleaning up edges once the pieces are cured and hardened.


Let the plaster cure in the mold for a few hours, for this sized mold. Don't rush things and pop them right out because that is how you break your castings...


The plaster I used in this project was ComposiMold's own ComposiStone. It is as smooth as plaster, but as strong as cement. Follow this link for ordering information! 

For More Information Visit: www.ComposiMold.com

Friday, August 10, 2012

One of a Kind Picture Frame


In this week's example, I will show you how to make a picture frame using foamcore and ComposiMold. You will also see just how convenient it is that ComposiMold is reusable and inexpensive!


I marked out the width of my frame and carefully cut it with an exacto knife.
Here is the foamcore frame ready to be embellished.


I drew some lines on it to follow with my hot glue gun.

Then I used the hot glue gun to draw on the frame. This will create a 3-dimensional effect.

You can see here from the side that the glue is raised and will create a cool texture.

I prepped my frame with plenty of mold release.

Then I sprayed a layer of Bubble Buster.

Here is shot of the frame with melted ComposiMold poured over it.

Then I removed the foamcore picture frame.

You can see the details from the hotglue drawing in my mold.

I spray mold release again before pouring my plaster cast.

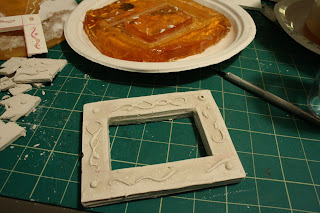
Here is my plaster cast hardening.


 THEN...As I de-molded my plaster picture frame it cracked into many pieces. This was due to two reasons. One was the fact that the foamcore picture frame I had made was too thin and fragile. The second reason was that when I mixed my plaster it was too watery and there wasn't enough plaster to hold it strong. In the photos below you will see my second attempt.

This is the second cast made from a 2 layer thick foamcore picture frame.

The mold and cast on the left are my first (brittle) attempt and the mold and cast on the right are my second (solid) attempt.

This is the final product that I painted and then put a layer of gloss over to give it the look of glazed ceramic.


Keep in mind that like most art making processes, there will be some trial and error. With ComposiMold you can easily go back to the drawing board without wasting any product or money.

Happy Mold Making~Michelle

For More Information visit: www.ComposiMold.com www.Facebook.com/ComposiMold www.YouTube.com/ComposiMold order at www.ComposiTherm.com

Monday, November 23, 2009

Buddha Figurine From Plaster and ComposiMold

Here's a fun one.

Buddha on his pedestal.

This guy was made from Plaster of Paris. He's about 9 inches tall. Another cast was made using Hydrocal, a stronger version of Plaster.


The mold was made from ComposiMold. It was a two part mold. It was molded by first placing the original Buddha into a large bucket for a container. A mold release was sprayed over the original part. The ComposiMold was melted in a microwave and poured over the Buddha. A couple bubbles formed under his chin, so a toothpick was used to push them away from the Buddha.


After cooling (overnight because it was a pretty big mold), the mold was cut in half using a box cutter. The original figurine was removed. New mold release was put inside the mold halves. The mold halves were taped together.

Plaster of Paris was mixed and poured into the ComposiMold mold. After sitting for one day, he was removed from the ComposiMold mold. To clean, all the large particles were shaking out and then a small amount of cold water was run over the ComposiMold mold. The mold was ready for the next casting.

This part took about 50 ounces of ComposiMold and 1 pound of plaster. After a couple of Buddhas were cast, the ComposiMold was remelted for the next part to be cast.

Thanks for reading.

www.ComposiMold.com


Posted by Picasa

Tuesday, August 4, 2009

Plaster Frog Casting using ComposiMold


We made a plaster casting of a frog figurine to show how to use the Reusable Mold Making Material, ComposiMold, for plaster castings. We used a plastic frog as the mold.

The plastic frog floated in the ComposiMold so we stuck in down using polymer clay. We could also have used double sided tape or even flipped the frog upside down and pushed it into the mold making material.


We used a 16 oz container of ComposiMold. We melted it for a minute and a half. That melted enough for us to cover the frog. We sprayed on a mold release (http://compositherm.com/moldrelease.html). It took about 20 minutes to solidify the ComposiMold in the refrigerator.

Mold release was added into the mold (just in case) and plaster was mixed. The plaster was poured into the mold. The hardest part was waiting for the plaster to cure. We managed to wait a day (about 12 hours).

The plaster frog figurine was pulled from the mold.


We then cleaned out the mold. First we dumped out any extra plaster material. We then cleaned the mold gently with water. The mold was then dried. The mold was then ready for a second casting. When we are finished making the frogs, the reusable mold making material can be melted and reused.


For another tutorial on making plaster parts see http://composimold.com/CM-tutorial-Plaster.htm