Showing posts with label mould making. Show all posts

Wednesday, September 7, 2016

Brush On/Pour On Method for Making Molds of Relief Sculptures


Could making a mold with ComposiMold get any easier?! Why, yes it could. We'll show you how to make a mold of a relief sculpture (flat shape) by just pouring or brushing melted ComposiMold onto it without even using a mold box. 

https://youtu.be/JDuXJ9y6Otw

Supplies:
ComposiMold-Food Contact
Fondant
Relief Sculpture
Toothpick
Edible Paints

Instructions:
1. Place your clean relief sculpture on a surface that ComposiMold can easily be peeled away from. In this example we use a piece of glass. (Paper surfaces are not ideal)

2. Melt your ComposiMold-FC in the microwave per the instructions included in the container. 

3. Pour a thin layer of CM-FC over the object. Be sure it covers the entire surface including the edges. 

4. Look closely for any bubbles that may have been trapped on the surface of your original object. Use a toothpick to pull the bubbles off the surface. You don't need to pop them or try to completely remove them, just be sure they are not touching the surface of the relief sculpture. 

5. Let the 1st layer cool until firm to the touch again. A thin layer such as this took less than 20 mins to cool. 

6. Pour your next layer over the first. This layer adds firmness and strength to your mold. All the detail was captured in the first layer. Be sure the entire thickness of the mold is at least 1/4" to 1/2".

7. Let this layer cool. 

8. Peel the ComposiMold-FC mold off of the original piece and flip it over onto a flat clean surface. 

9. Soften the fondant of your choice, roll to 1/8", and transfer to your mold. Press into all the details and edges of the mold. 

10. Rub excess fondant away from the edges of the final fondant piece to cut the extra away. (See video)

11. Then gently roll the final edges back towards the final fondant piece to make them neat when the piece is flipped over. 

12. Carefully flip the mold and fondant over. Then lift one edge of the mold back and away from the fondant. Slowly bend/peel the mold away from the fondant to reveal your edible creation. 

13. Paint and decorate the fondant shape with edible materials. Wrap it around the side of a cake, drape over a cupcake, or showcase it on its own!

14. Make as many fondant creations as you need or pour melted chocolate into your mold to make a different version. 

15. Wipe away any fondant or chocolate from the mold with a cold damp cloth, re-melt the ComposiMold, and store covered until your next project. 

Here is a link to a video tutorial of the same project: https://youtu.be/JDuXJ9y6Otw


Please share this video and tell everyone you know about ComposiMold! Plus subscribe to see the next amazing blog post from ComposiMold!


Tuesday, August 9, 2016

Ten Most Compatible Casting Materials with ComposiMold

Here are some quick tips for the variety of casting materials you can use in a ComposiMold mold:
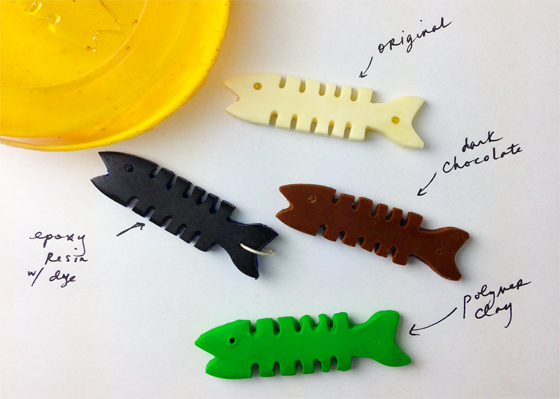
EPOXIES: Epoxy Resins, Putty, or Clay
Epoxies work well for pieces up to 8 cubic inches. For larger castings of 8+ cubic inches, choose epoxies with longer cure times of 24+ hours. Experiment with freezing the mold prior to pouring epoxy resins that create a lot of heat during curing. Epoxy resins that require an added heat source for curing are not recommended.

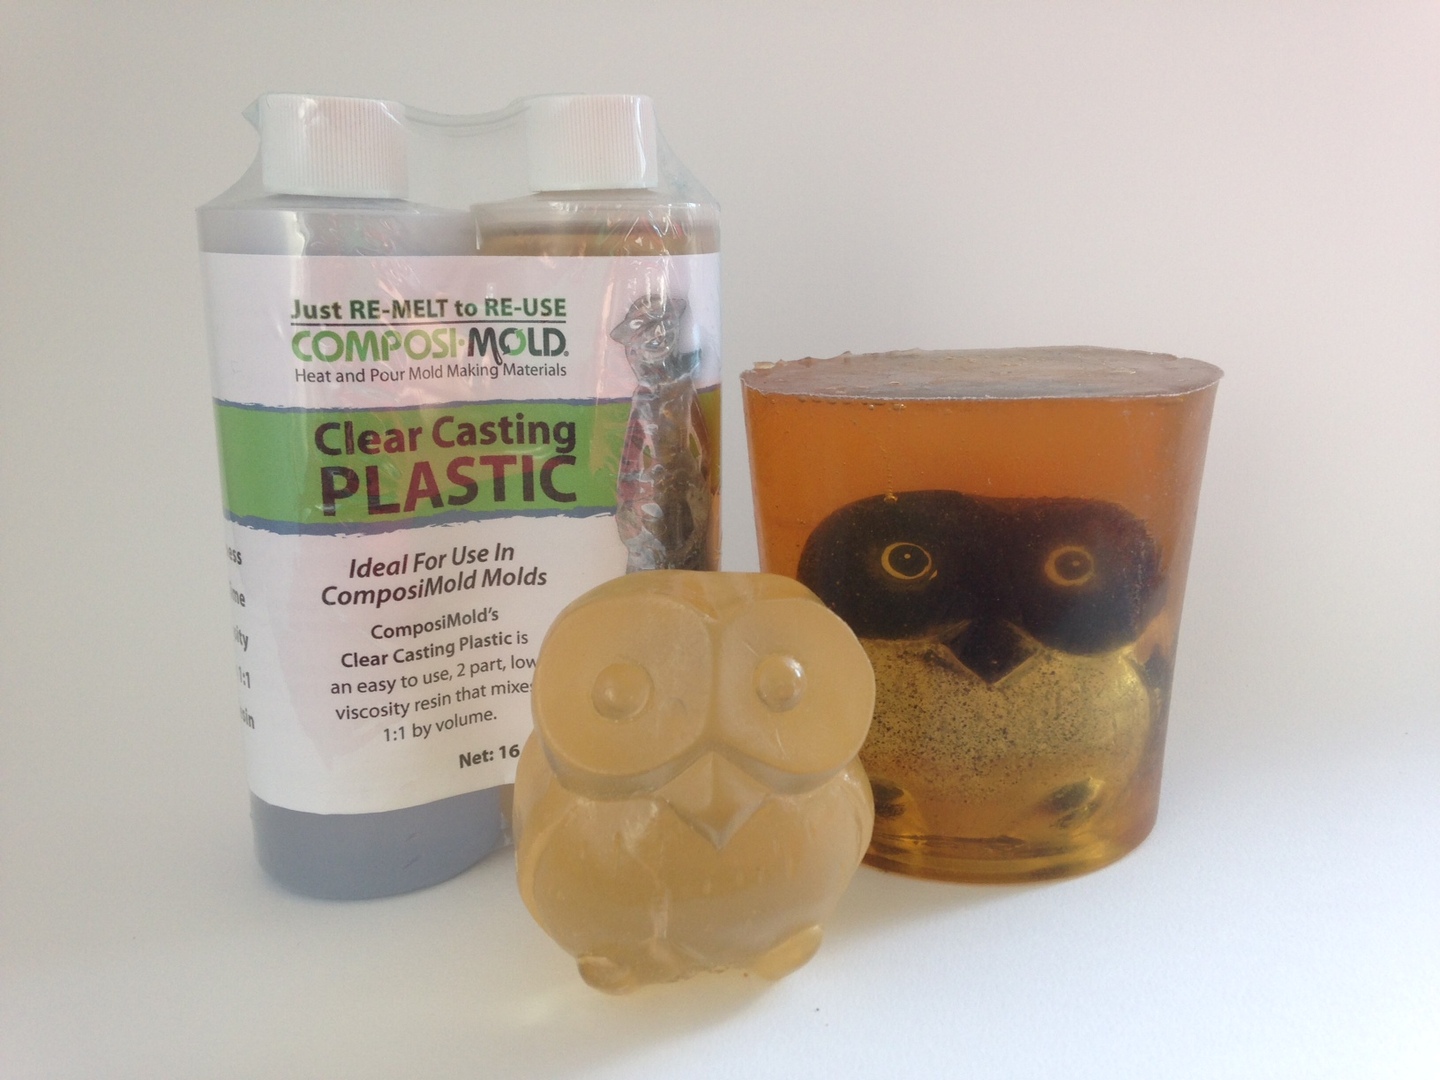
Try our jewelry grade, crystal clear, Clear Casting Plastic for castings up to 6 cubic inches. Chill the mold for castings up to 20 cubic inches.

URETHANE OR POLYURETHANE:
Choose a urethane with a longer cure time. These create less heat as they cure. You can also experiment with freezing the mold prior to pouring higher temperature urethane resins. Be sure to use talc powder/baby powder as your mold release before each casting made.

SILICONE:
Silicones work great in ComposiMold molds. Make castings with both platinum or tin cured silicone rubbers.

PLASTER/CONCRETE:
Mix plaster and water together in a 72 parts plaster to 28 parts water, by weight, or to a toothpaste-like consistency. Traditional plasters cure well but leave a slight soft layer on the outside of the casting. To avoid this, apply a layer of Plaster Release to the mold before pouring casts. Fast curing masonry cements work great and cure extremely strong. Follow instructions for mixing ratios.

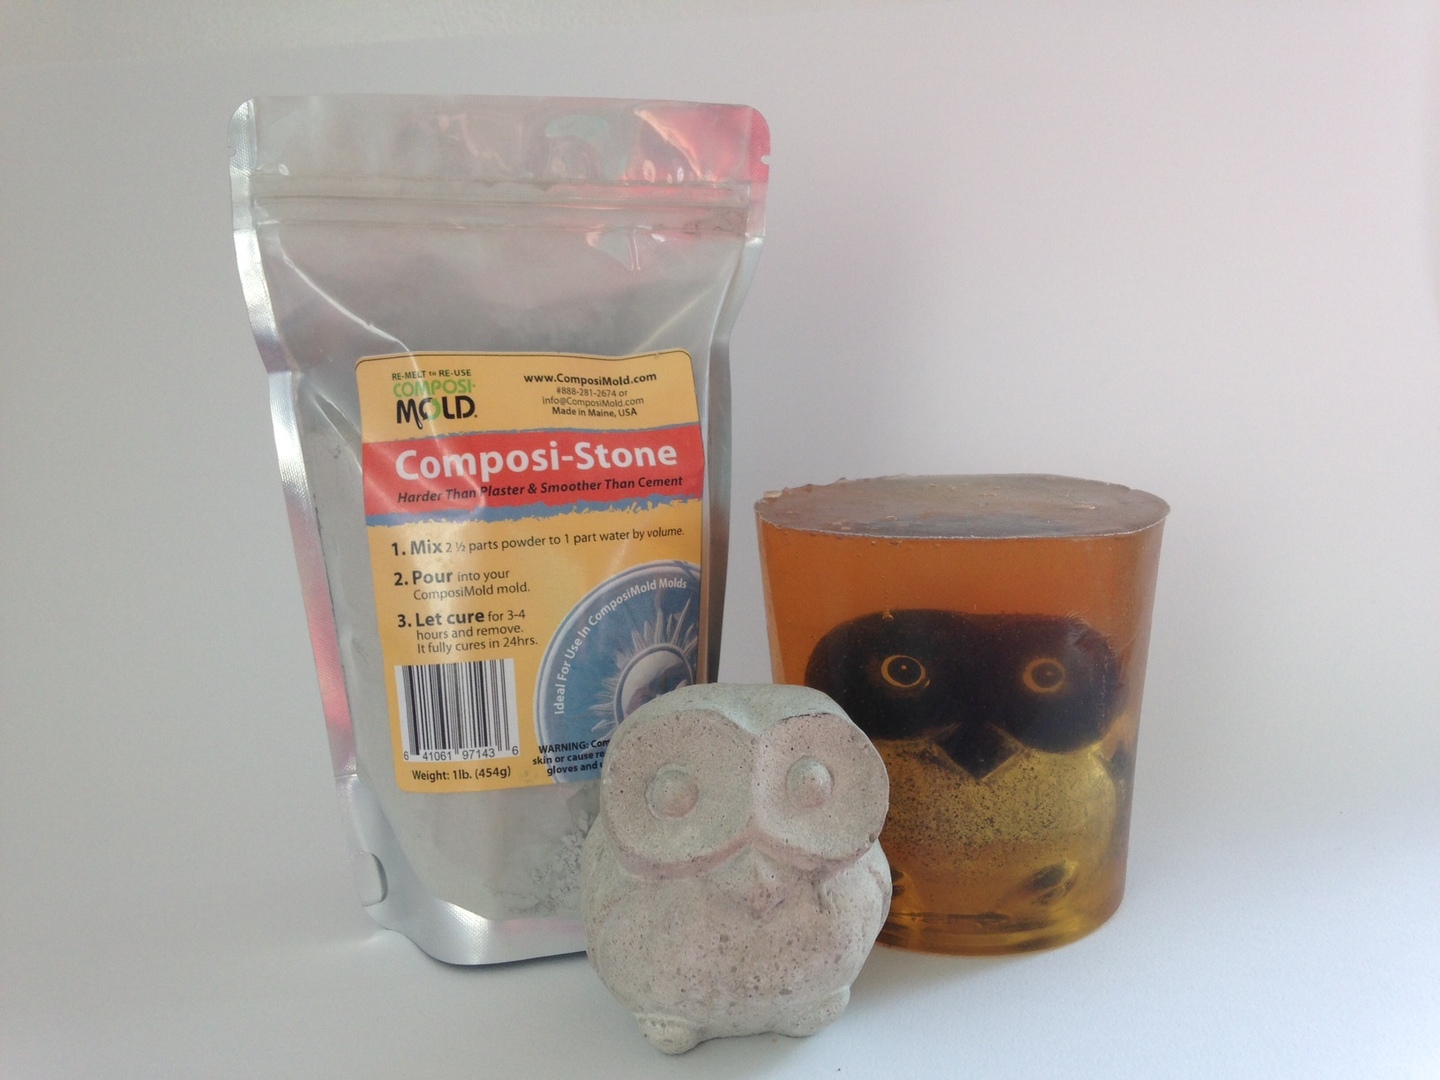
Try our ComposiStone formulation! It’s smooth like plaster but hard as concrete. It works very well in a ComposiMold mold.

SOAPS:
Shea Butter and Glycerine Soap make great soaps! Chill the mold prior to pouring any higher temperature soaps (above 140ºF).

WAXES: (for candle molds or encaustic casting)
Soy, Paraffin, Beeswax, and Melted Crayons work really well. Chill the mold first for higher temperature waxes (above 140ºF).

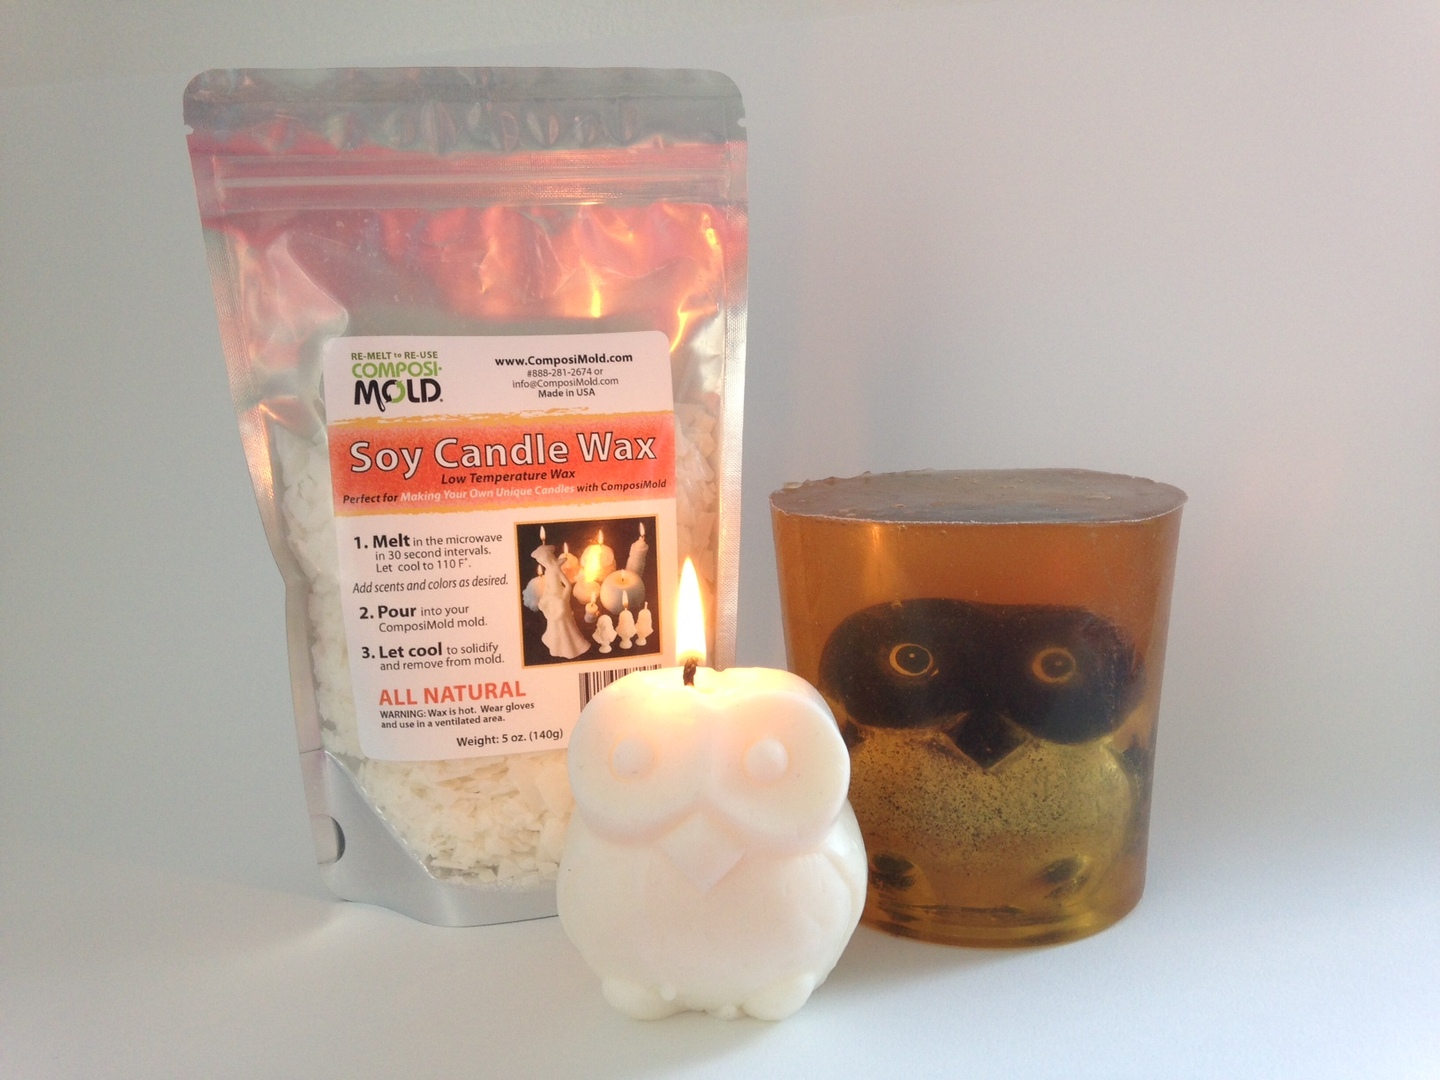
Try our all natural Soy Candle Wax for candle making and beautiful wax castings. Cools to a white, creamy finish!

CLAYS:
Use any type of polymer clay, modeling clay, putty, or real clay for push molding in a ComposiMold. Do not use clay in a slurry form or the water will degrade the mold.

CHOCOLATE:
Pour or pipe many types of melted chocolate into your mold. Lightly tap or vibrate the mold to release air bubbles in the chocolate. No mold release is necessary for chocolates.

FONDANT:
Press softened fondant into your mold with your hands or a rolling pin and remove immediately. No mold release is necessary for fondant.

When casting edible treats, you can also use: no-rise cookie dough recipes, gummies, gum paste, ice, butter, and more!

...AND MANY MORE:
For your art, craft, hobby, and hardware projects, you can also try: adding fillers and dyes to casting materials, ComposiMold itself as a rubber casting material, Modeling Compounds, Polyester Resin, Paper Mache and many more!

Do you have a question about using a specific casting material that was not answered here? Email or call anytime!


Please share this video and tell everyone you know about ComposiMold! Plus subscribe to see the next amazing blog post from ComposiMold!

Monday, September 14, 2015

Make Custom Fancy Ice Cubes (Ice Cube Molds)


First secure the object to the bottom of a container using hot glue. Apply a thin layer of mold release, spray a heavy coat of Bubble Buster then melt and pour the ComposiMold until it fills at least a quarter inch above the object. Allow the ComposiMold to cool until it becomes rubber like. Remove the mold from the container and pull it out of the mold.

Now place your mold and a cup of water in the freezer. Once the mold is as cold as you can get it (below 30 Fahrenheit) and the water is just above the freezing point (between 33-40 Fahrenheit) pour the cool water into the mold. Now wait an hour and your ice should be ready to demold.

 
Cool down your drink!

Please share this video and tell everyone you know about ComposiMold! Plus subscribe to see the next amazing blog post from ComposiMold!


Monday, August 17, 2015

ComposiMold's Soy Wax Product Demo (Make a Custom Olaf Birthday Cake Candle and More!)


Now you can make a custom prize candle, diamond candle, birthday candles, led candles, man candles, and other homemade candles.

ComposiMold’s Soy Wax is a great casting material; it looks nice and works great with ComposiMold molds. ComposiMold’s soy wax has one of the lowest melting points of all available waxes with a melting temperature of just 120 Fahrenheit, plus its plant based.


Once you are ready to create a unique candle, place the soy wax flakes in a microwave safe container and heat it at 1 minute intervals until completely melted. Wait for the wax to cool below 130 Fahrenheit before pouring it into your mold. In the meantime go ahead and prepare the wick, poke a hole in the mold were you want the wick to go then force the wick through the hole. Pull the wick all the way through the mold and secure it so that it will end up in the center of the candle, then tape up all the seams/cuts in the mold. Once the wick is prepped and if your wax is cool enough you can pour it into the mold.
You will have to wait a couple hours before removing the candle from the mold, then all you need to do is trim the wicks and you have yourself a unique custom candle.
It’s as easy as that, Place it on a cake and light it up!  
To order ComposiMold’s reusable mold making material for candle making visit http://composimoldstore.com/all-products/composimold-original/
To learn more about how to turn your thoughts into creations through mold making sign-up for this FREE eBook---a molding making success guide: Follow the link below- http://composimold.com/Ebook.html  

Become Part of the ComposiMold Experimentation Club! Enter our video contest, the first 100 entrants with an eligible video uploaded to YouTube will become members of the elite ComposiMold Experimentation Club! Awesome Prizes!
http://composimold.com/make-your-own-unique-molds-and-casting.html
 

Please share this video and tell everyone you know about ComposiMold! Plus subscribe to see the next amazing blog post from ComposiMold!


Tuesday, June 30, 2015

Olympia Turns a Squinkie into a White Chocolate Ring Pop

What would we do without our most creative mold makers around? Our kids make the coolest things!

Olympia, the founder of ComposiMold's daughter, wanted to make a toy she could actually eat, just like babies chew on their toys. Who wouldn't want that, right?!

She explains the ComposiMold process as well as any of her adult counterparts and turns her little Squinkie toy into white chocolate. By pressing an empty Ring Pop ring into the bottom of the still melted chocolate, she was able to turn her creation into a functional AND EDIBLE work of art!


Please share this video and tell everyone you know about ComposiMold! Plus subscribe to see the next amazing blog post from ComposiMold!

For More Information Visit: 

Friday, June 5, 2015

Melted Crayon Art Project today in a ComposiMold Mold

Good morning and happy Friday!


Today's project displays a mold of a toy rhino that we made a few cuts in to be sure we could de-mold the fragile casting without breaking off it's legs. This is called a 2 or 3 part mold and it allows you to bend the ComposiMold mold away from the casting.

Melted crayon art is a super fun arts and crafts project to do with kids or to make for kid's gifts. Think about making crayons in the shape of any children's toy! ComposiMold is the secret ingredient here!


Please share this video and tell everyone you know about ComposiMold! Plus subscribe to see the next amazing blog post from ComposiMold!